Last weekend me, my wife and my friends participated in one of the Geekcon events. What is Geekcon? Geekcon is a makers' event, similar to an Hackathon, in which people meet and spend an intensive weekend together doing nothing but creating projects. The big difference between Geekcon and other Hackathons is that it is not competitive, and the projects aren't supposed to be practical. In fact, some would say they mustn't be practical. This big difference is what leads to a very cool weekend with a great atmosphere, full of makers who are focused on their projects but also focused on helping each other. After participating in a main Geekcon event last year (with a project I still haven't wrote about here), I decided to join this event, which was called "Geekcon Pets", and which focused on creating projects that are especially designed for pets. There were many cool projects there: an Automatic Trainer, a Poop Collecting Robot, an attempt to make a Bark Silencer, a Website for Lost & Found Pets and much more. However, I'm writing this post to tell you about our project. We have decided to build an Automatic Pet Door, which reacts to pets approaching it, and opens only for authorized pets. The authorizations are pre-defined by the owner.
tl;dr:
Here's a video of how it looked like eventually, in which you can see a simulation of a dog and a cat, trying to get through the door. The dog is declined, but the cat is approved and so the door opens for it.
The entire code can be found on Github
If you didn't understand anything from the video, read the next section and then come back!
The Architecture
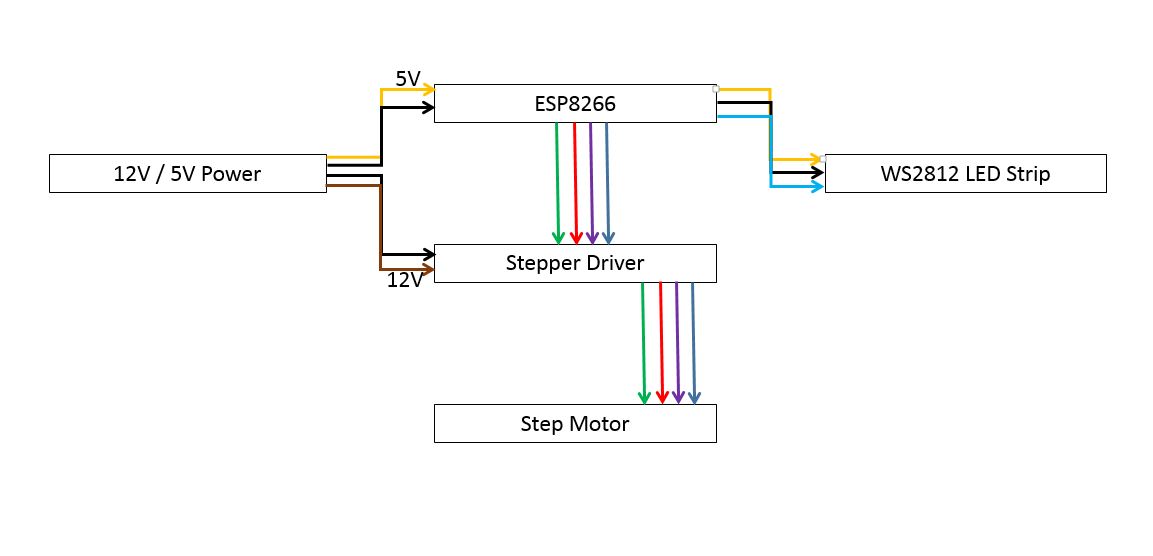
Actually, this was a very simple project from a software point of view, but a bit more complicated from the "integration" point of view. Its electronic parts include:
- Three Arduino with NRF24L01 communication modules.
- One ESP8266 with a step motor and a motor driver, and also some WS2812 leds and a web-server.
- Smartphone and NFC tags.
- A computer to control the cars.
Also the rest of the project included:
- Building the pet door.
- Printing 3D parts for the door and for simulating real pets.
- Design work.
- A website for the pets' owner.
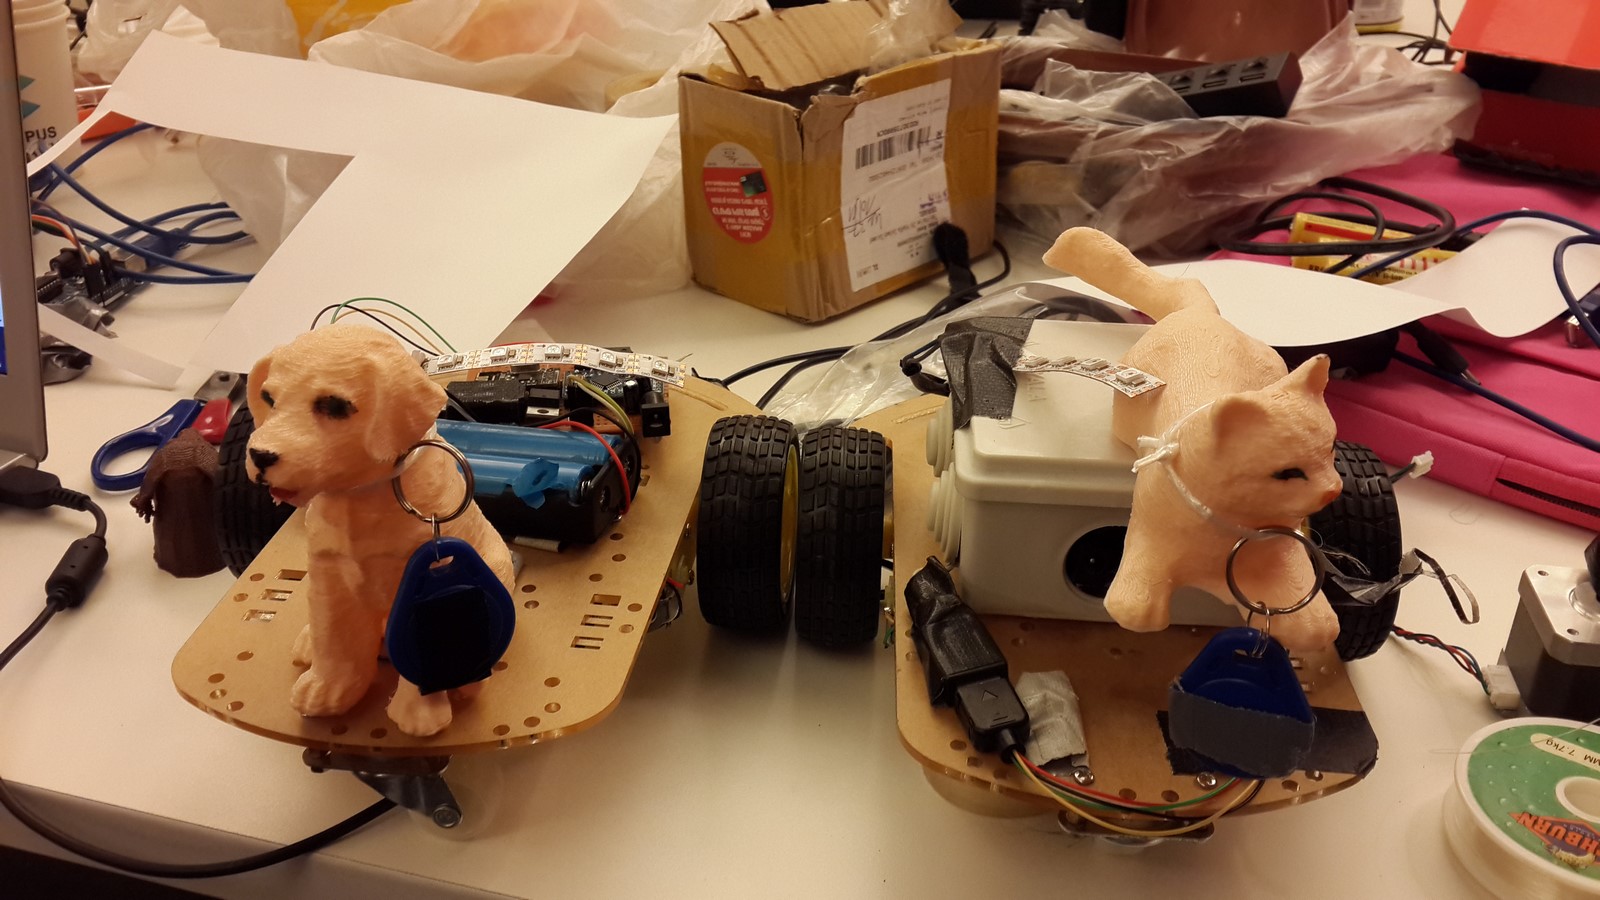
How does it all work? Since we couldn't bring our own pets over there, we used wireless cars I built at the previous Geekcon we attended. The cars were used as pets and a 3D dog and 3D cat were printed and put on top of them. The cars were already equipped with an Arduino pro-mini, a motor driver and a NRF24L01 communication module, and were programmed to read a special protocol designed to move it forward, backward and to make it turn. Another Arduino was connected to the computer, and using Processing software it got commands which were sent to the specific car and controlled it.
Then there's the door - The door had a step motor on it, controlled by the ESP8266, which also had a web-server on it with two web-pages. If you entered the first page you would get a response but nothing would happen, and if you entered the second page you would get a response and the motor would start working and open the door.
Finally, each car had a NFC tag and the door had a smartphone next to it to read the tags. The NFC tags were pre-defined such that when scanned, they directed the browser to one of the ESP8266 pages.
Now you can go back and check the video - It might be more clear. In the next sections I'll go into a bit more detail about each of the parts of this project.
The Door
Constructing
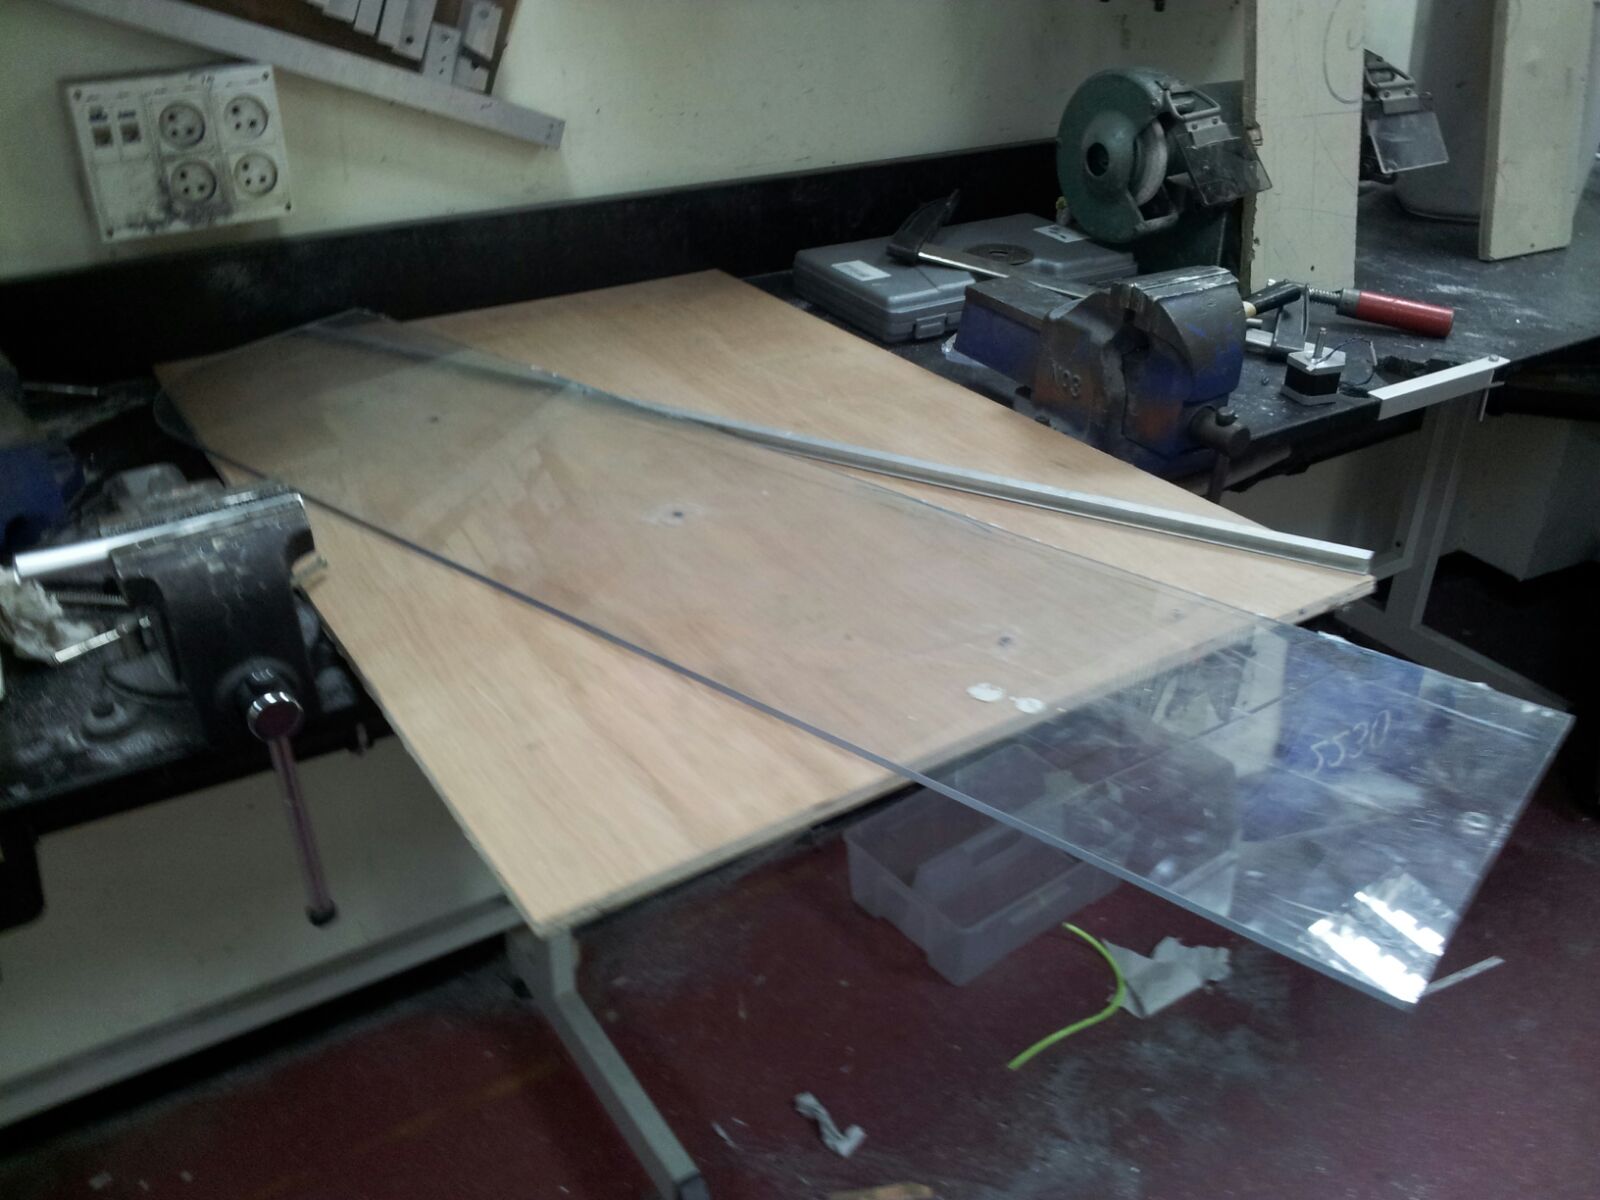
Geekcon was in a close work space inside Google Campus, so it was a bit problematic to use heavy machinery. Therefore, my friend constructed the door the night before in his workshop. Here are some photos from the process:
The door was constructed with wood, perspex moving through metal bars and the stepper to pull the perspex.
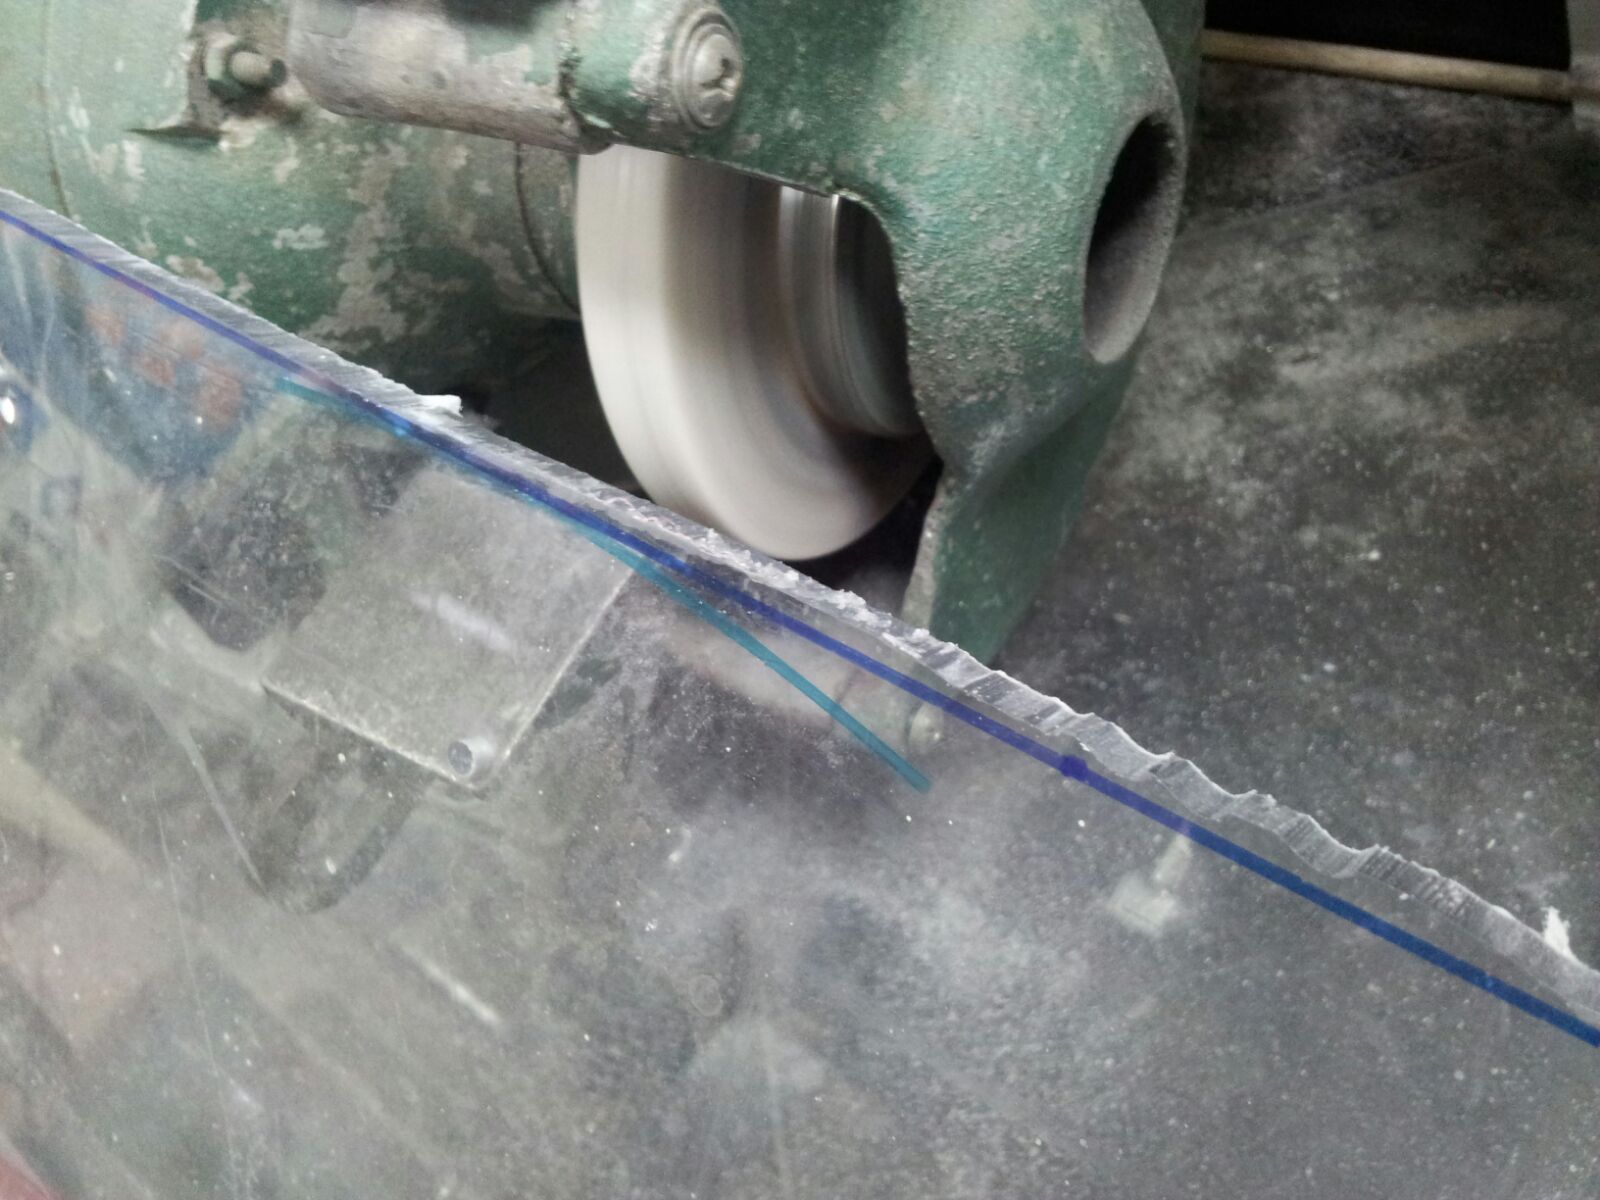
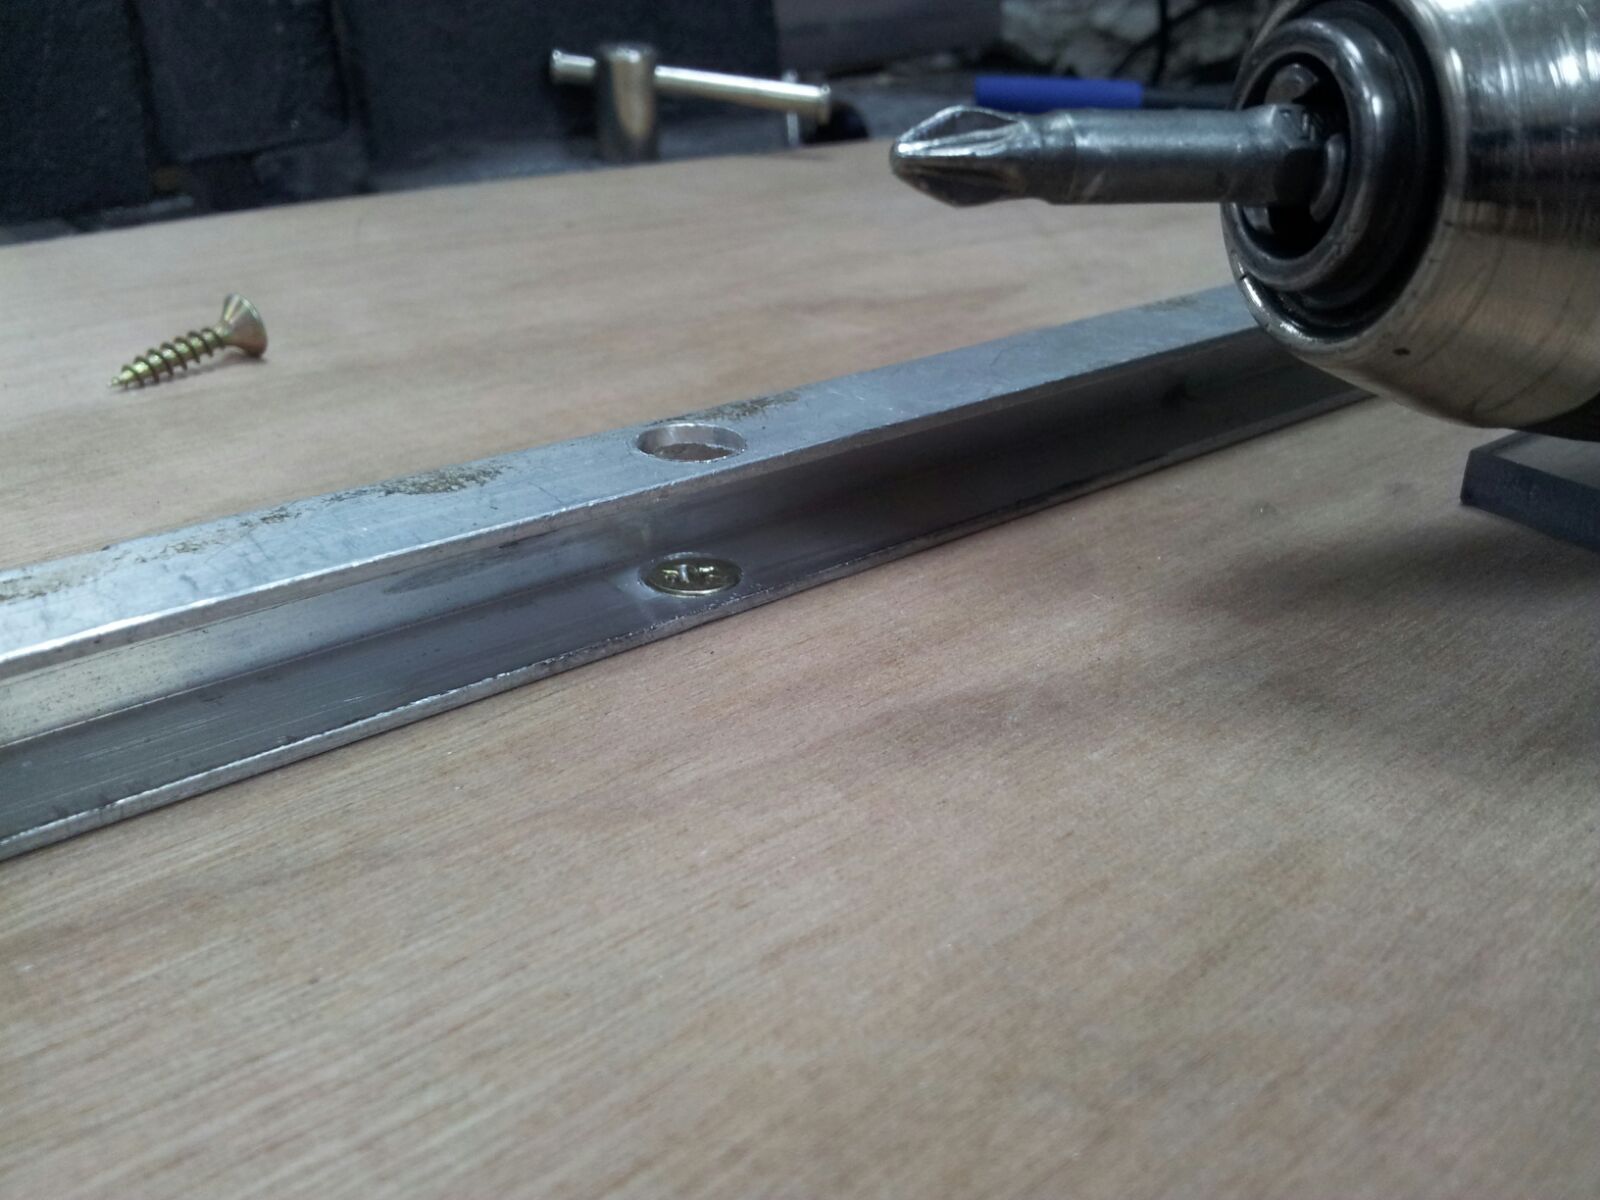
First - he cut the perspex and the bars
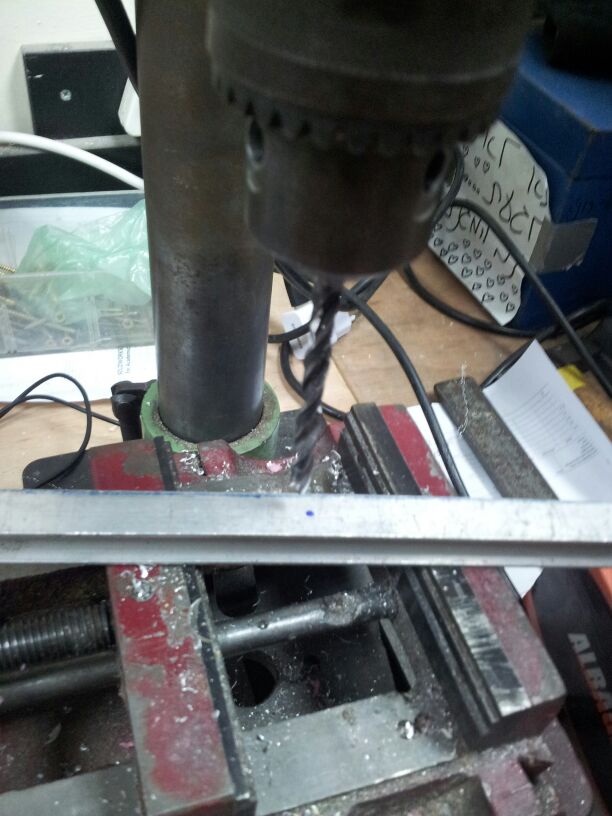
The metal bars were drilled so they can be fixed to the wood:
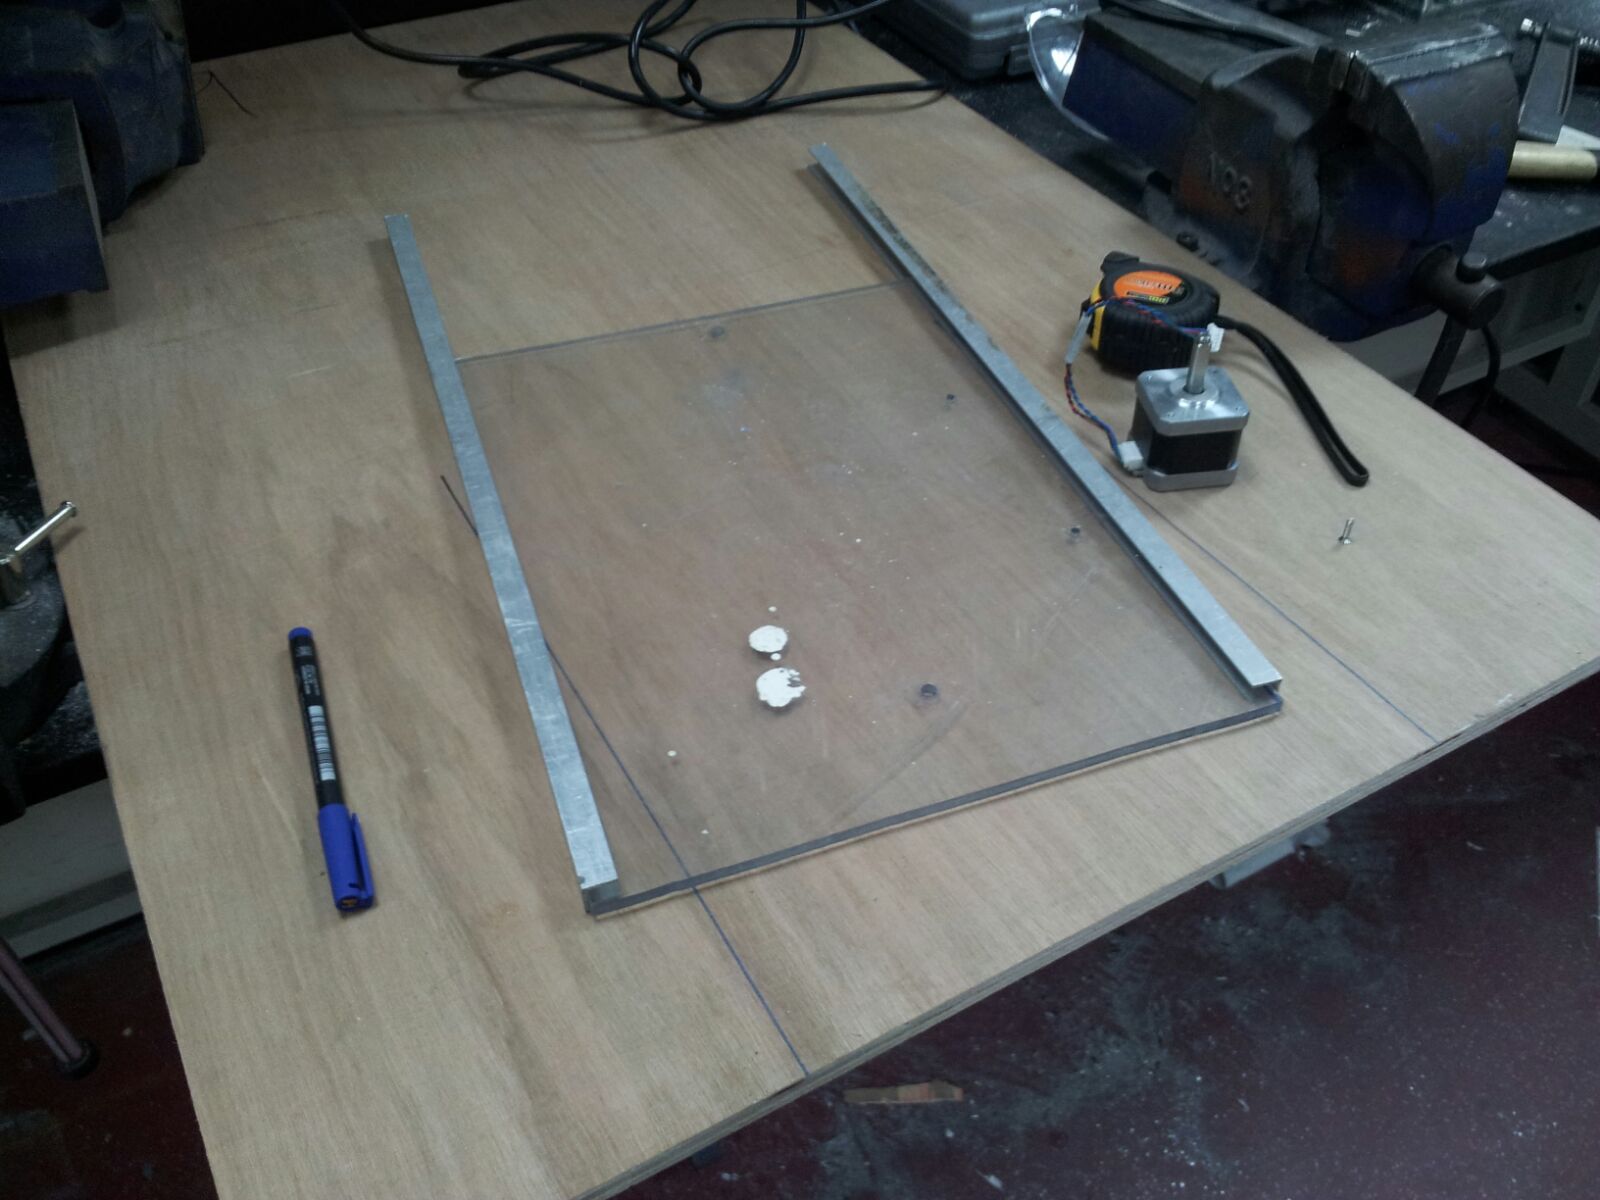
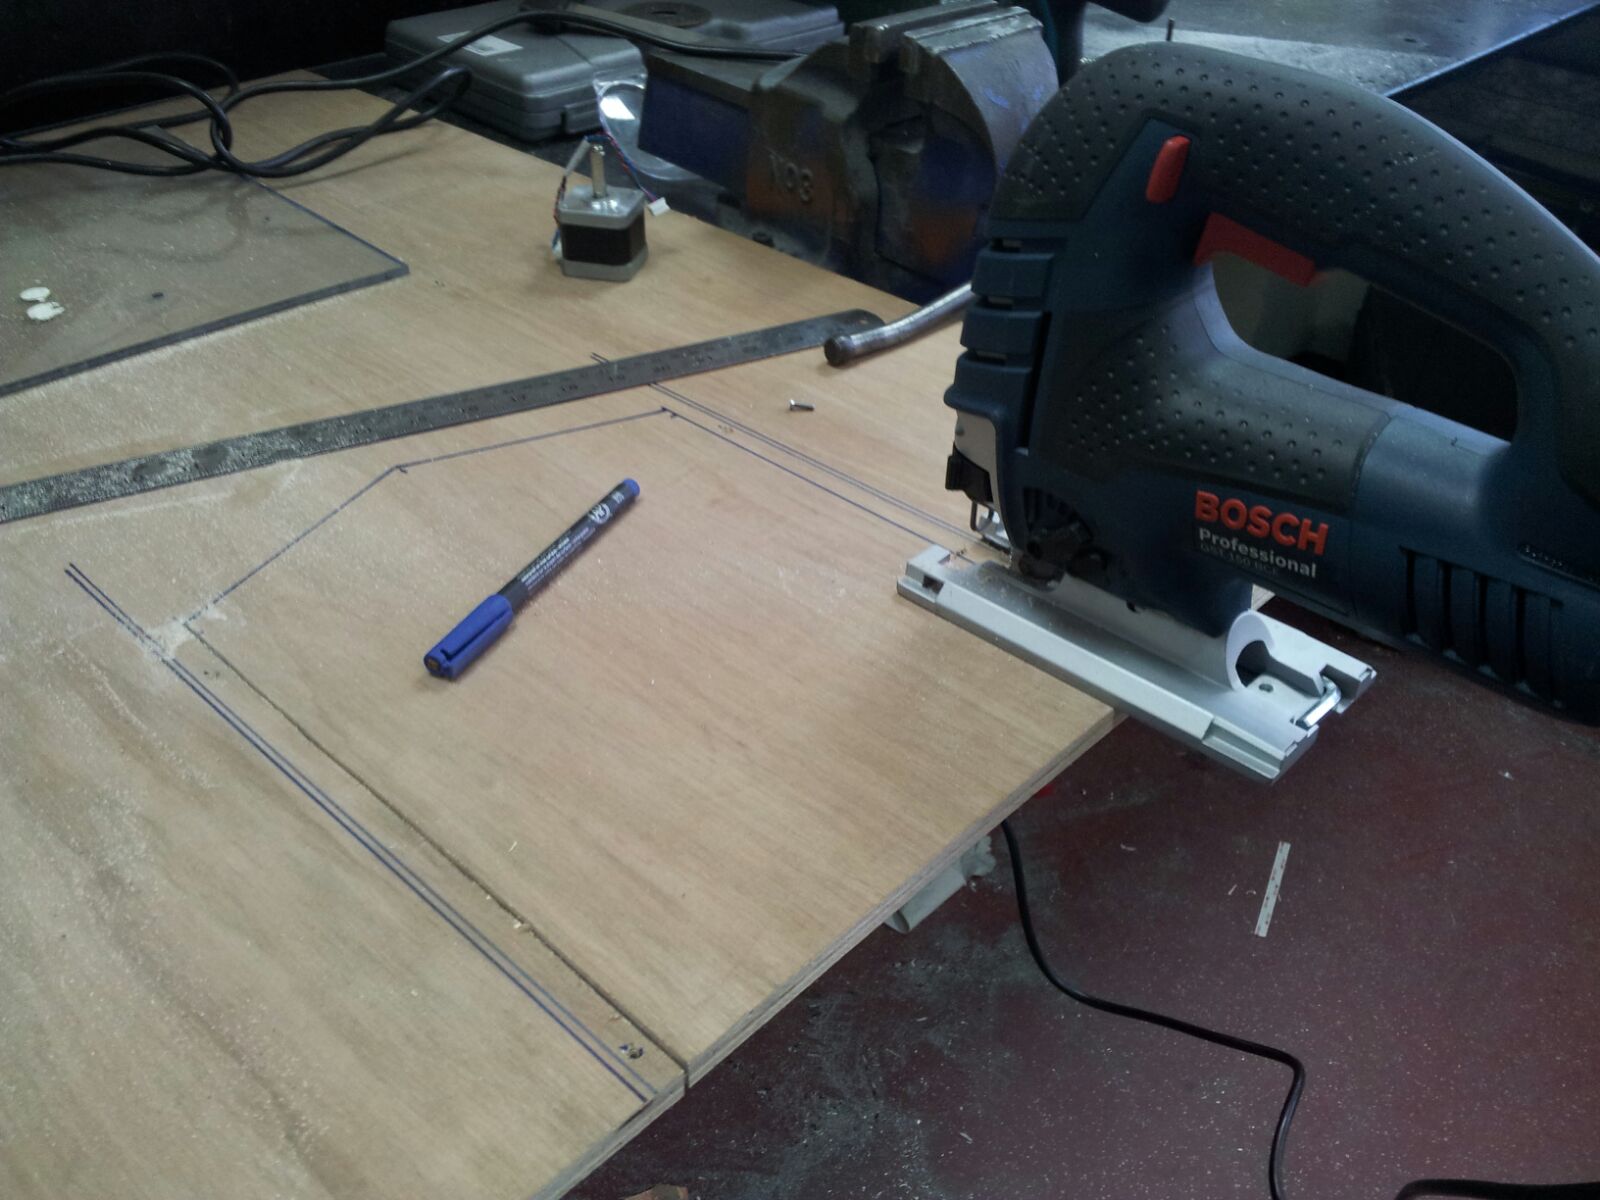
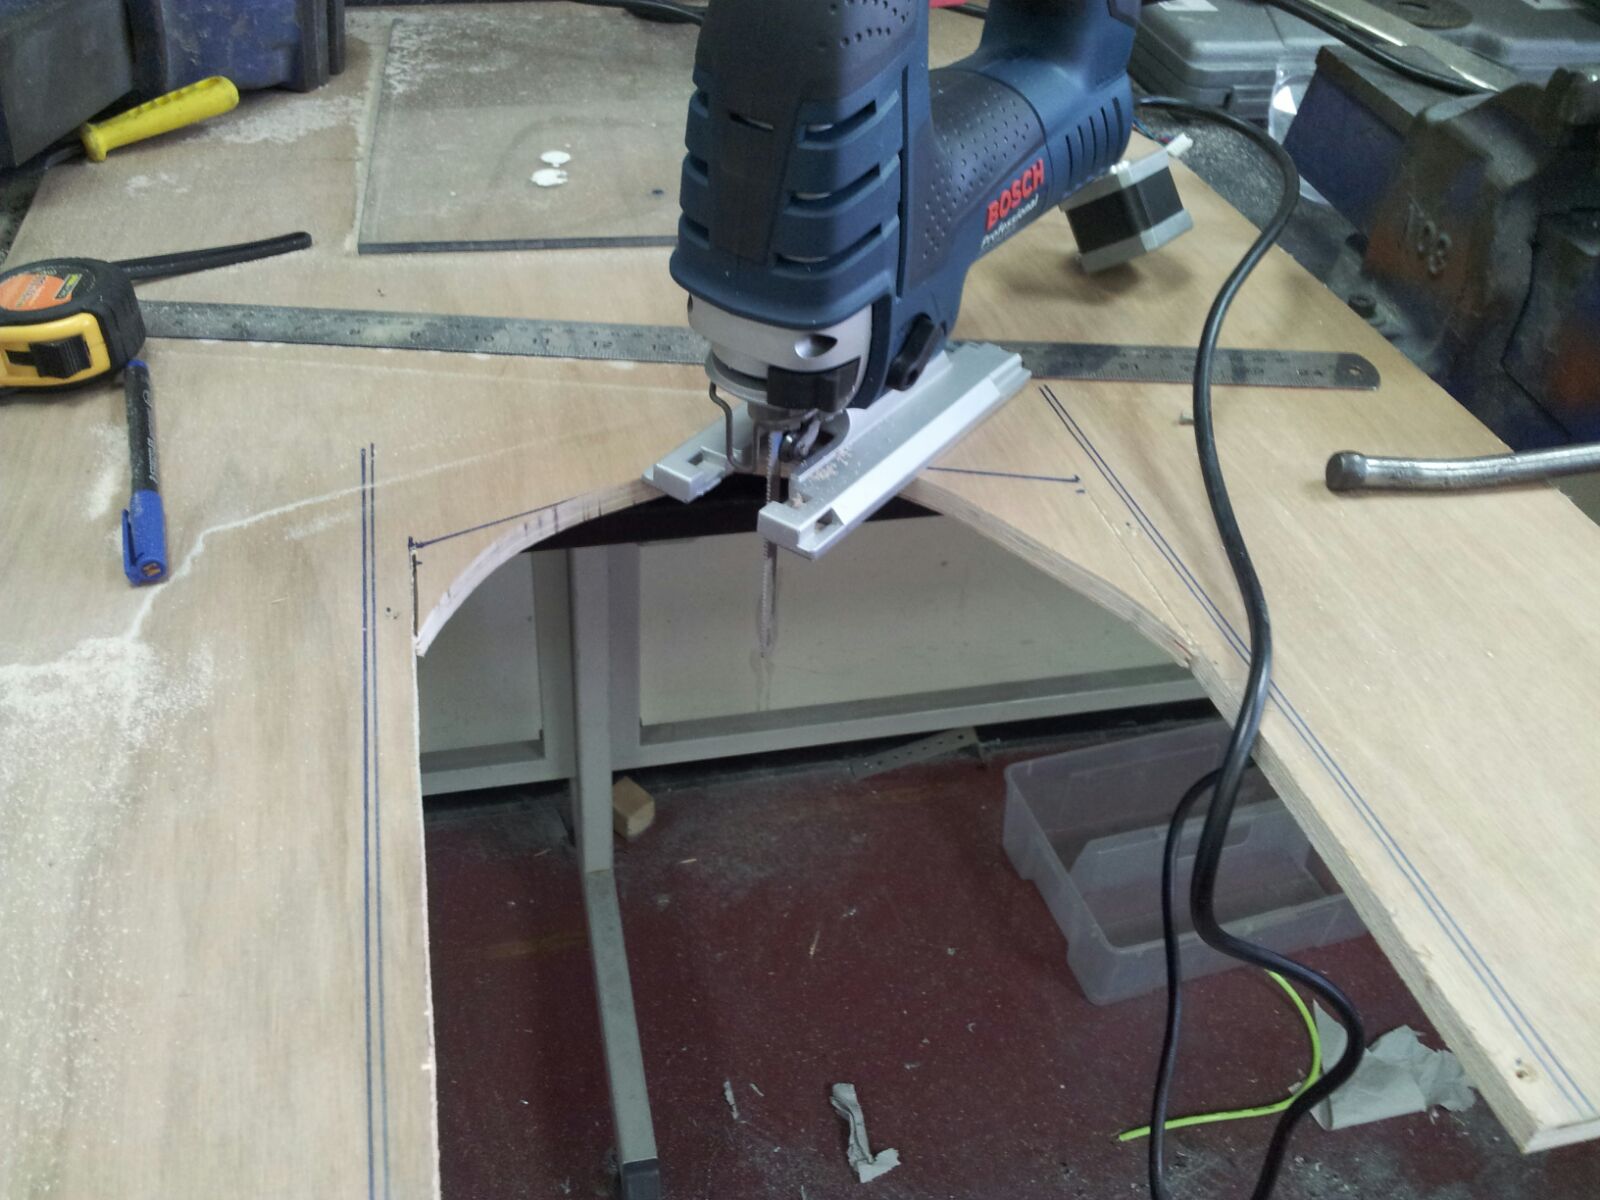
The wood was cut:
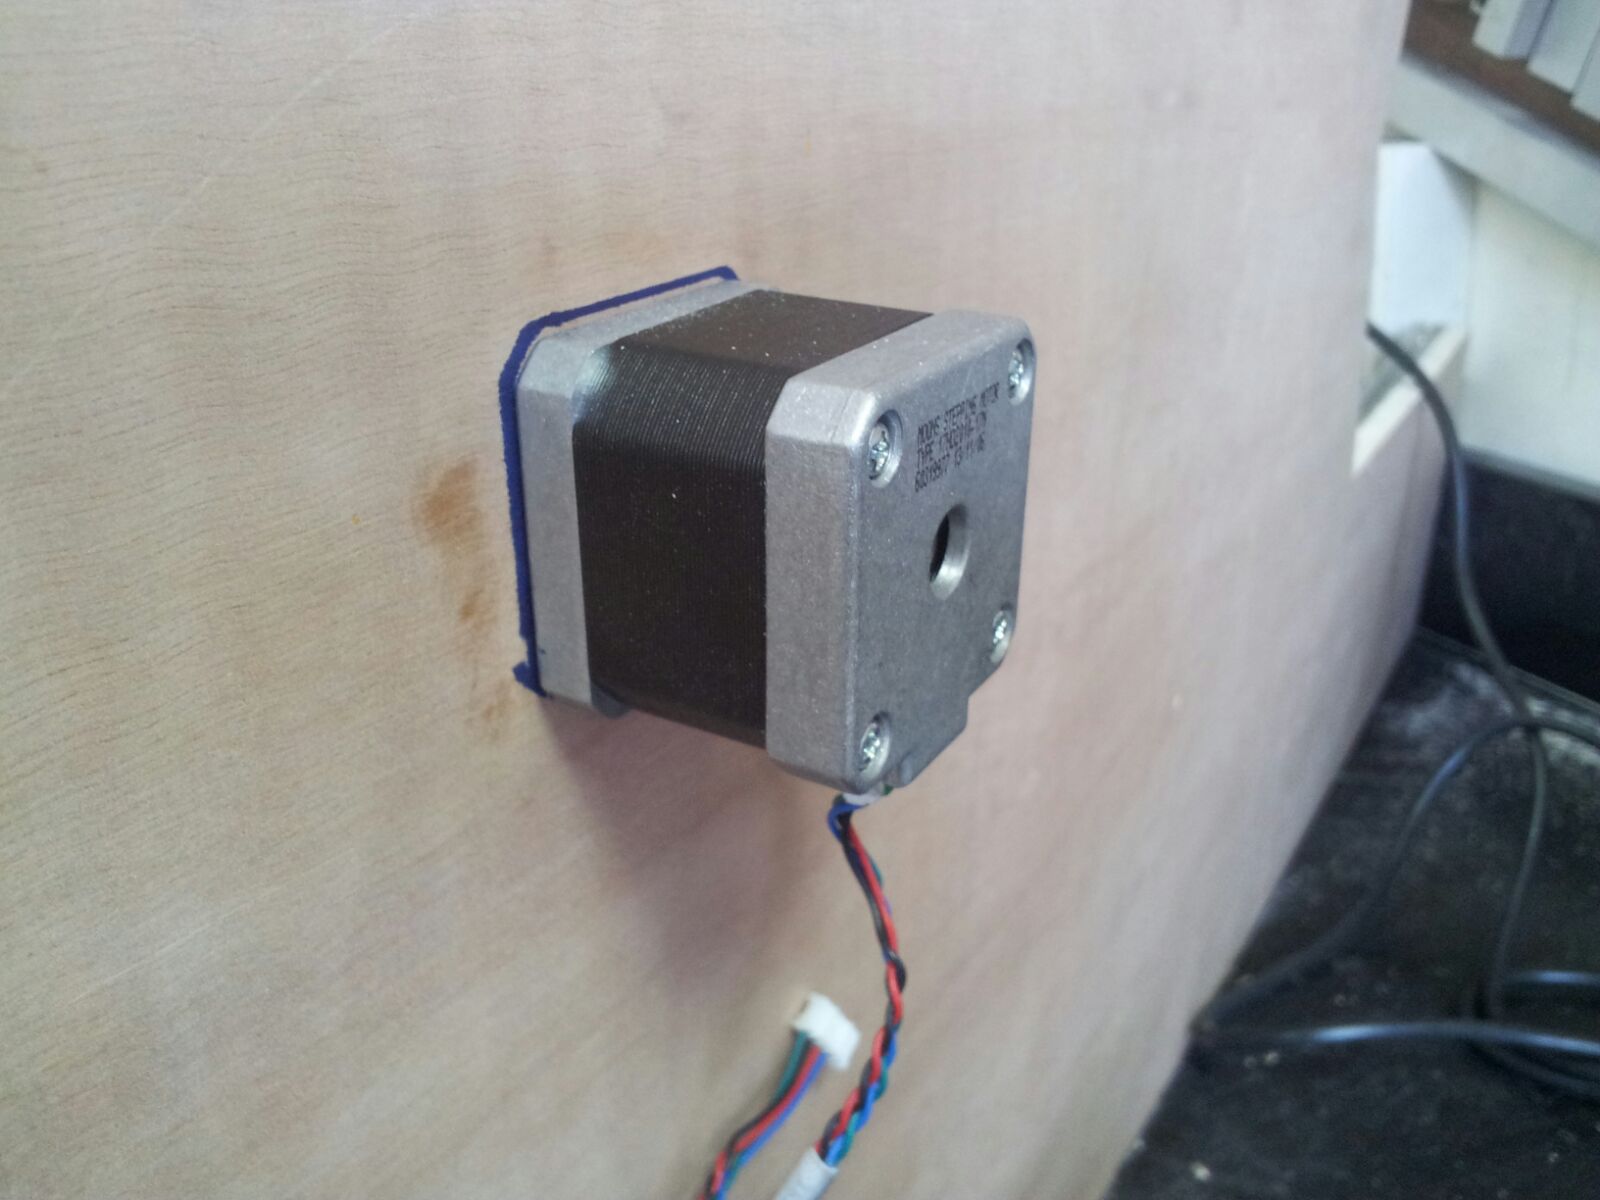
The motor was put in place, with a pulley on it:
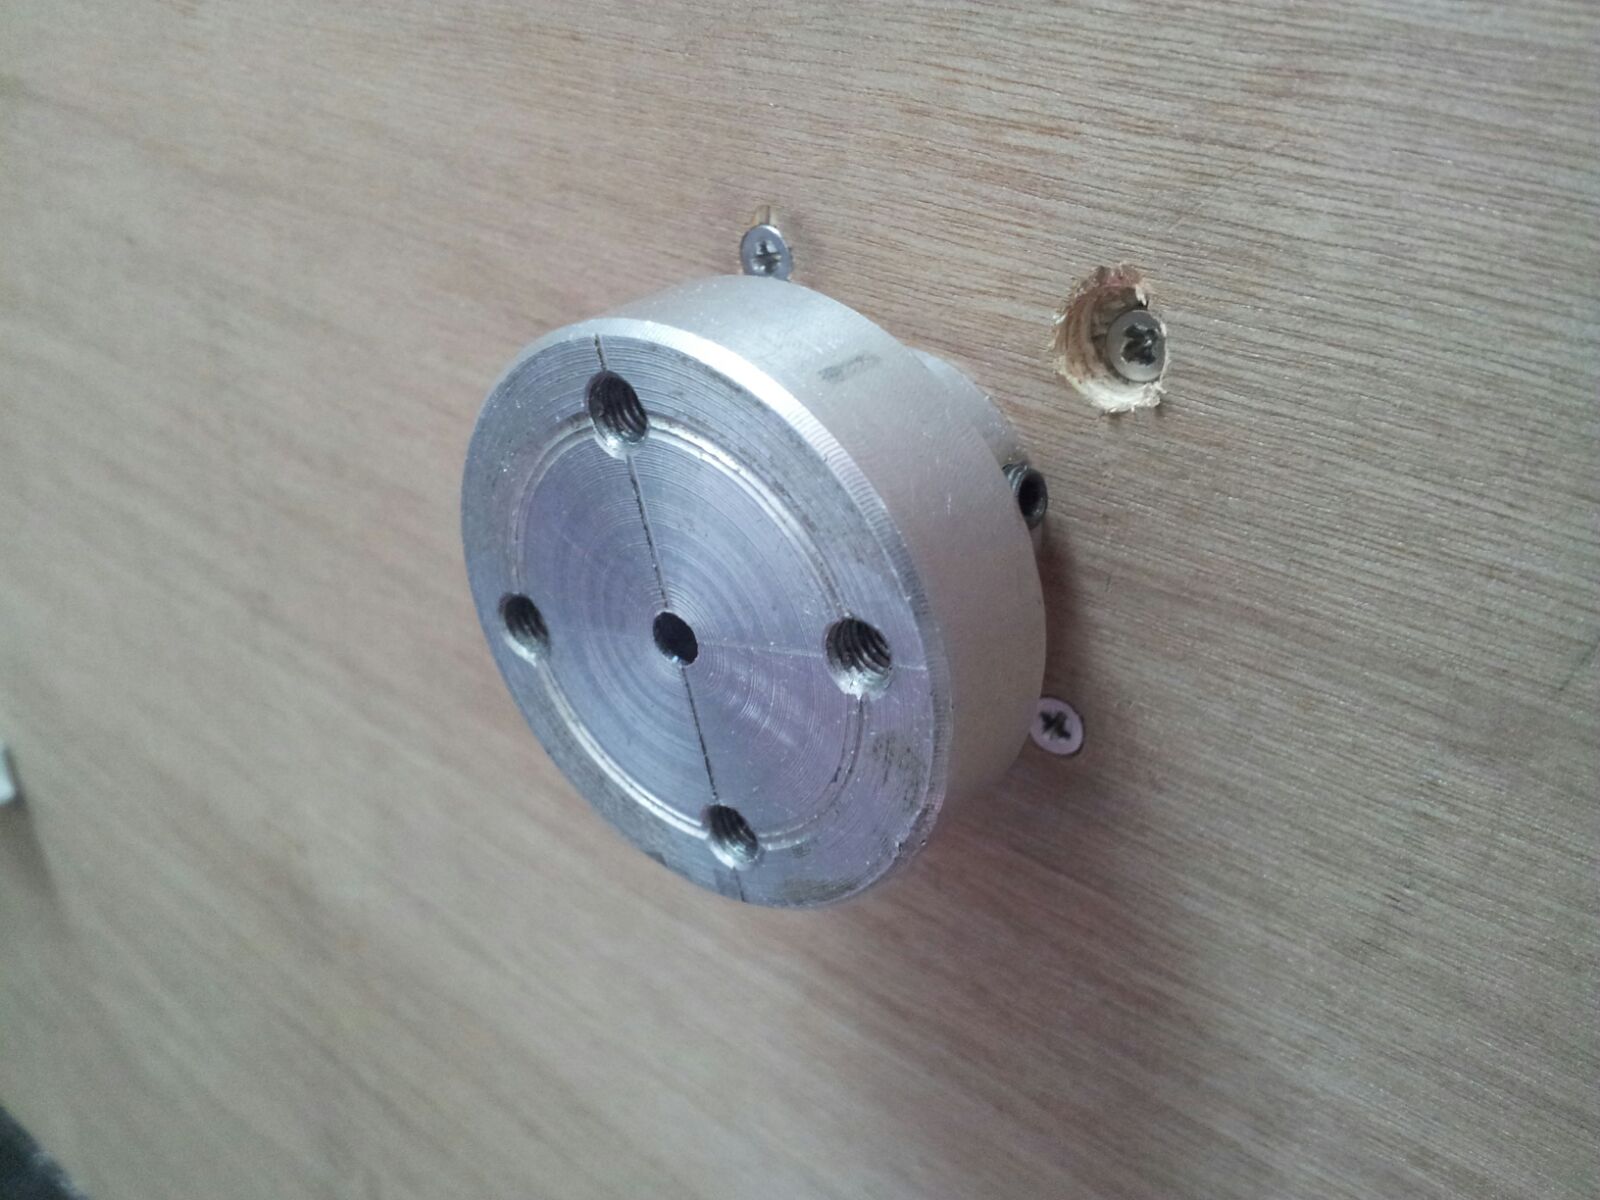
Finally, a string was attached to the motor and the perspex and the basic door were ready
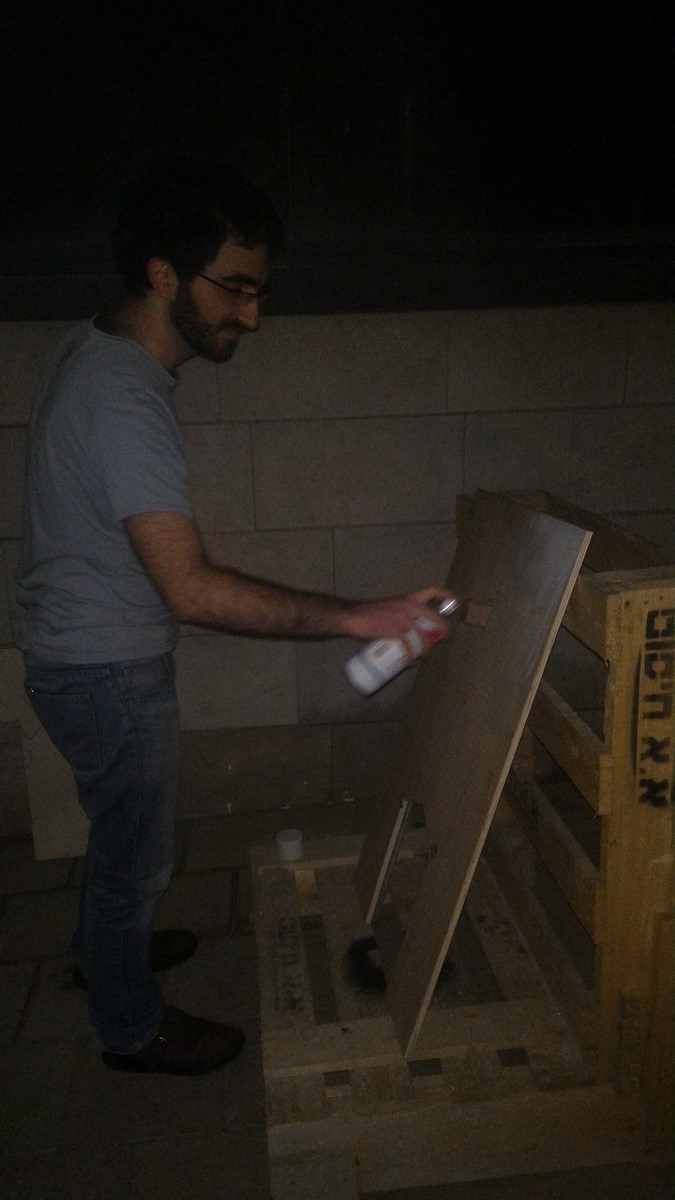
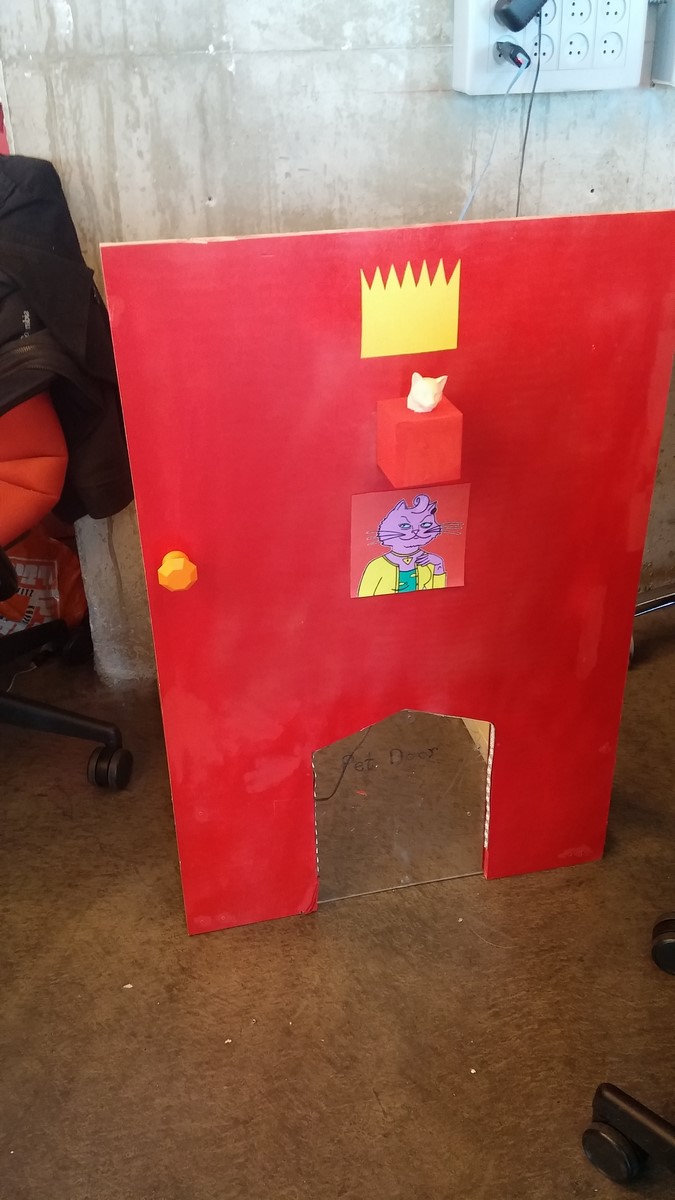
During the next night, we went to one of the alleys next to the work space, and spray-painted the door. Unfortunately, we ran out of white spray-paint, so we decided to make the door red and in that spirit decorated it as a majestic pet door.
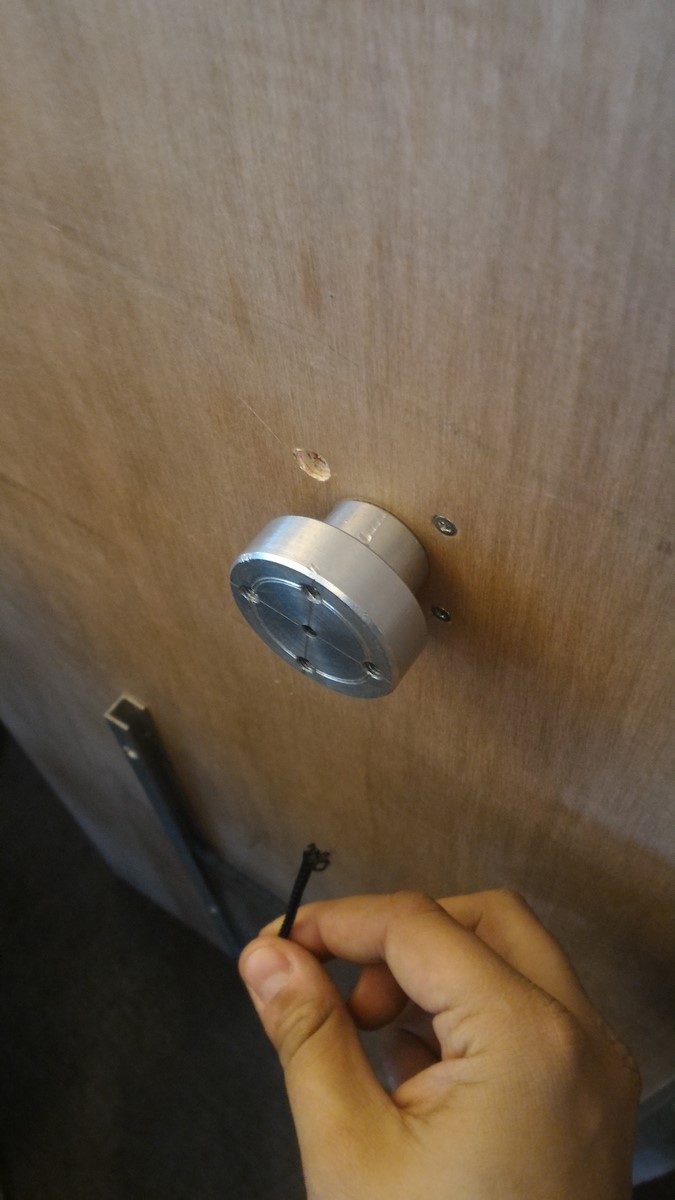
Finally, we added some 3D printed parts - a door knob and a cover for the stepper motor, and a decorative cat head :)
Controlling
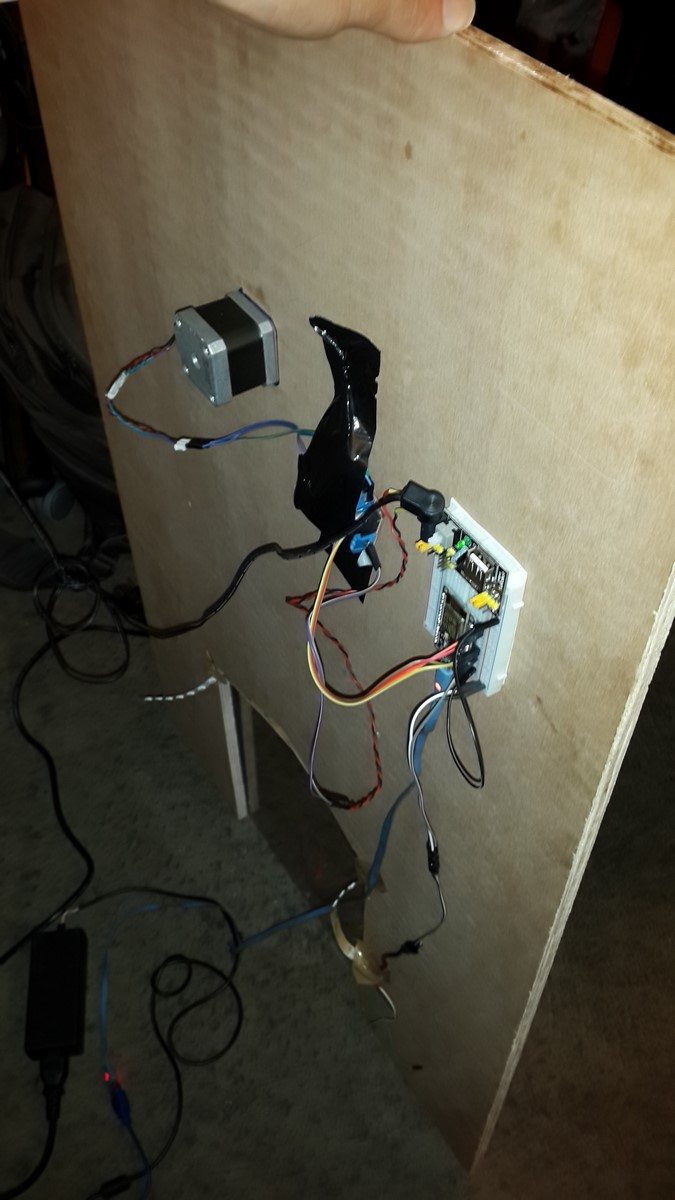
On the back side of the door, we built the next circuit (Sorry - It wasn't done with Fritzing this time):
Since we didn't have a lot of time to work on this project, the electronics looked pretty bad, but if it works it works:
If you check my ESP8266 code on Github you'll see the process in the code. After setting up a webserver and other setup, when a browser would send a request to the ESP8266, the ESP8266 would check if it's one of two possible requests and send a response (Taken from one of the Arduino IDE ESP8266 examples):
// Match the request
  int val=-1;
  if (req.indexOf("/gpio/0") != -1)
    val = 0;
  else if (req.indexOf("/gpio/1") != -1)
    val = 1;
  else {
    Serial.println("invalid request");
    client.stop();
    return;
  }


// Prepare the response
  String s = "HTTP/1.1 200 OK\r\nContent-Type: text/html\r\n\r\n<!DOCTYPE HTML>\r\n<html>\r\nGPIO is now ";
  s += (val)?"high":"low";
  s += "</html>\n";
Next, the "val" integer was used to determine if the door should be opened and green leds would turn on to indicate the pet is authorized, or the door would stay closed and the red leds would turn on to indicate the pet isn't authorized.
  if (val==1) {
  colorWipe(strip.Color(0, 255, 0), 25);
  colorWipe(strip.Color(0, 0, 0), 15);
  colorWipe(strip.Color(0, 255, 0), 25);
  colorWipe(strip.Color(0, 0, 0), 15);
  for(int i;i<10;i++) {
  myStepper.step(stepsPerRevolution/10);
  delay(0);
  }
  for(int i;i<10;i++) {
  myStepper.step(-stepsPerRevolution/10);
  delay(0);
  }
  }

  if (val==0) {
    colorWipe(strip.Color(255, 0, 0), 35);
    colorWipe(strip.Color(0, 0, 0), 15);
    colorWipe(strip.Color(255, 0, 0), 25);
     colorWipe(strip.Color(0, 0, 0), 15);
    colorWipe(strip.Color(255, 0, 0), 15);
    colorWipe(strip.Color(0, 0, 0), 15);
}
That's pretty much about it for the door - All that was left now was to interact with the door to make it open only for the authorized NFC tags.
The Cars
Two small cars were used to represent two pets. The cars were made a year and a half ago, so I'll try to write as much as I remember about the electronics and code.
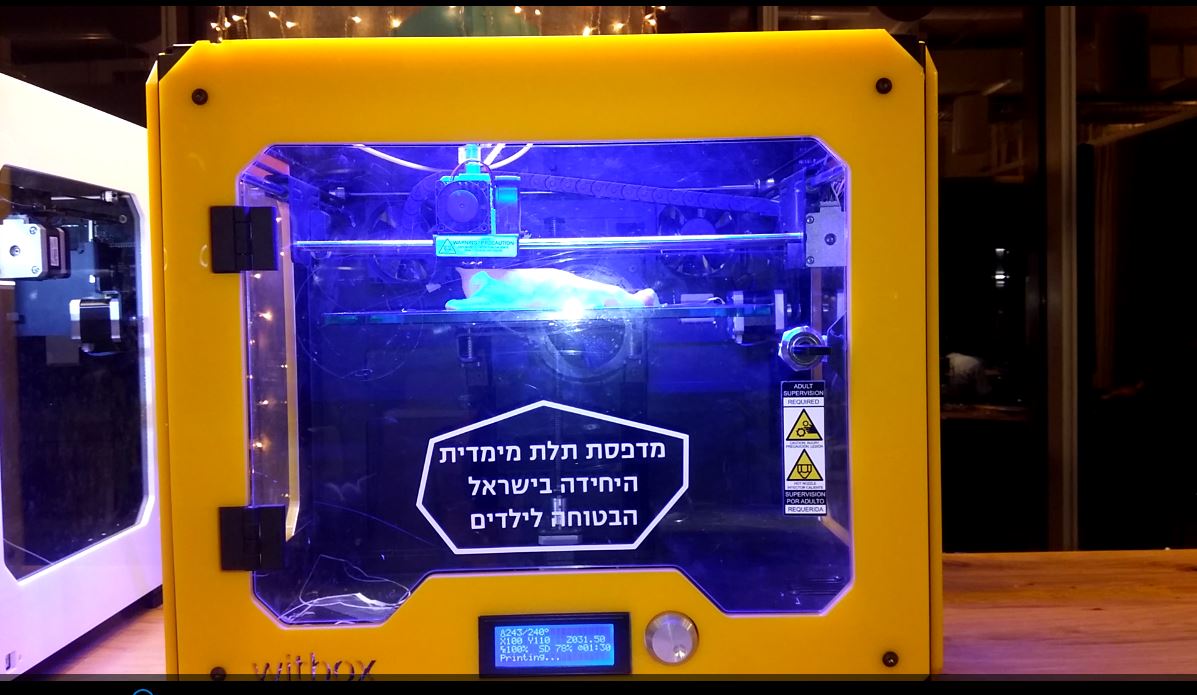
3D printing
First, we used one of the seven 3D printers that were available to us at Geekcon to make a dog and a cat which will be part of the cars. The STL files were downloaded from Thingiverse Website, and here are links for the cat and the dog.
The cat in process:
And after printing and coloring them, we put the NFC tags on them:
Electronics
The basic circuit on each car looked like this:
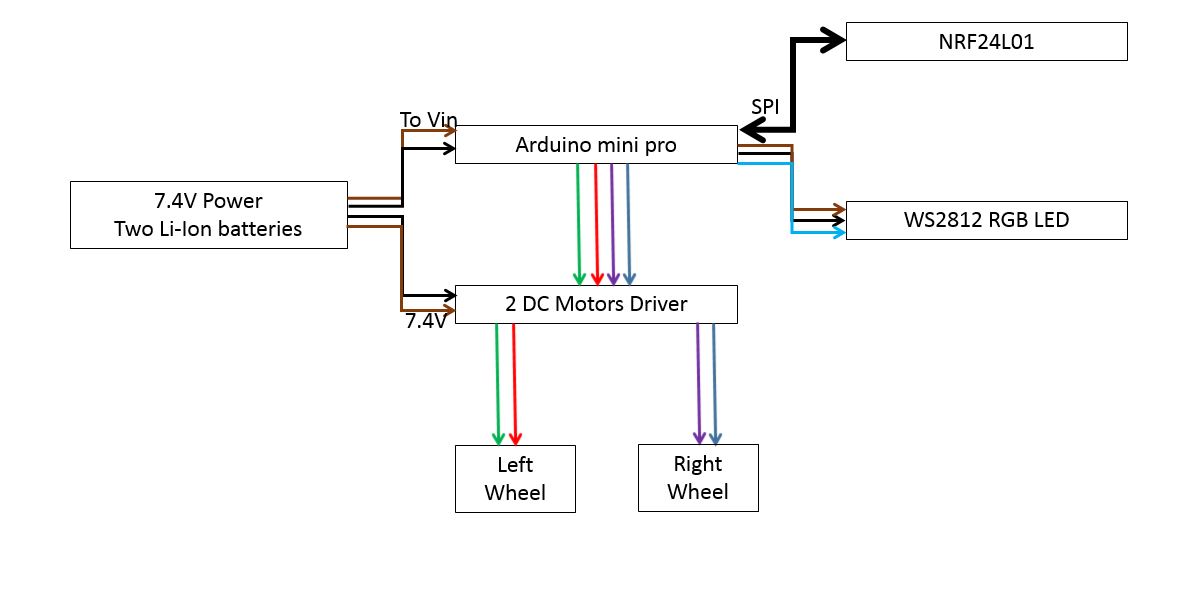
The Arduino got communication through the NRF24L01, and as long as the protocol was correct it sent commands to the motors driver. On the computer side, there was another Arduino, only with an NRF24L01, which sent the commands.
Code
The protocol is pretty simple - Each car had almost the same code except one byte which defined its ID. The protocol consisted of only five bytes on each packet, where each byte had its own definition:
| ID (Byte) | Action (Byte) | Data1 (Byte) | Data2 (Byte) | Data3 (Byte) |
Full command list can be found here. Luckily I documented it back then! Note that all cars got all the communication all the time but would react to it only if it matched their pre-defined ID.
A few examples:
- Sending "car 1" command to move forward:
| 1 | 1 | 255 | 255 | 0 (N/A) |
- Sending "car 2" command to move right:
| 2 | 4 | 255 | 255 | 0 (N/A) |
- Sending "car 2" command to turn on its RGB led as RED
| 2 | 6 | 255 | 0 | 0 |
Note that using this protocol we could control 255 different cars! We had five cars ready to use with this hardware and software, but only used two at the end.
Finally, another program was written on the computer, using Processing, which converted some of the keyboard keys on the computer to the protocol packet, and sent it to the Arduino connected to the computer, which in turn, sent it forward. That way it was easy for us to control the cars from the computer.
Then - The cars were ready to use:
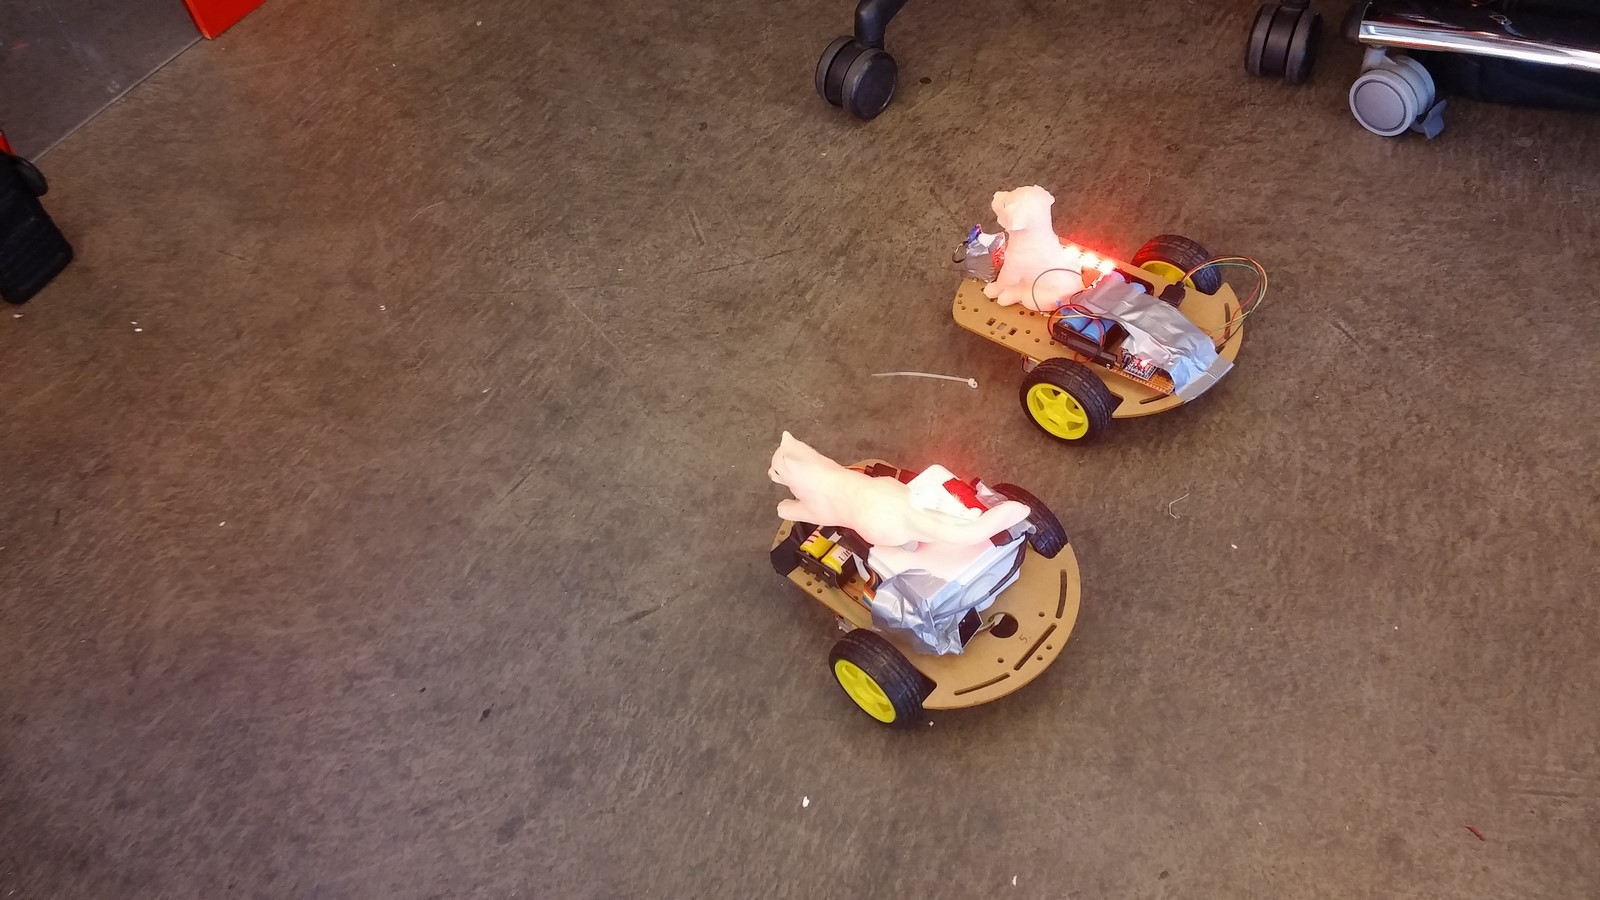
Now all that was left was to make the cars touch the smartphone which read their NFC tag and sent a request to the ESP8266.
Full code for processing, master arduino, and cars' arduino can be found on Github
The Website
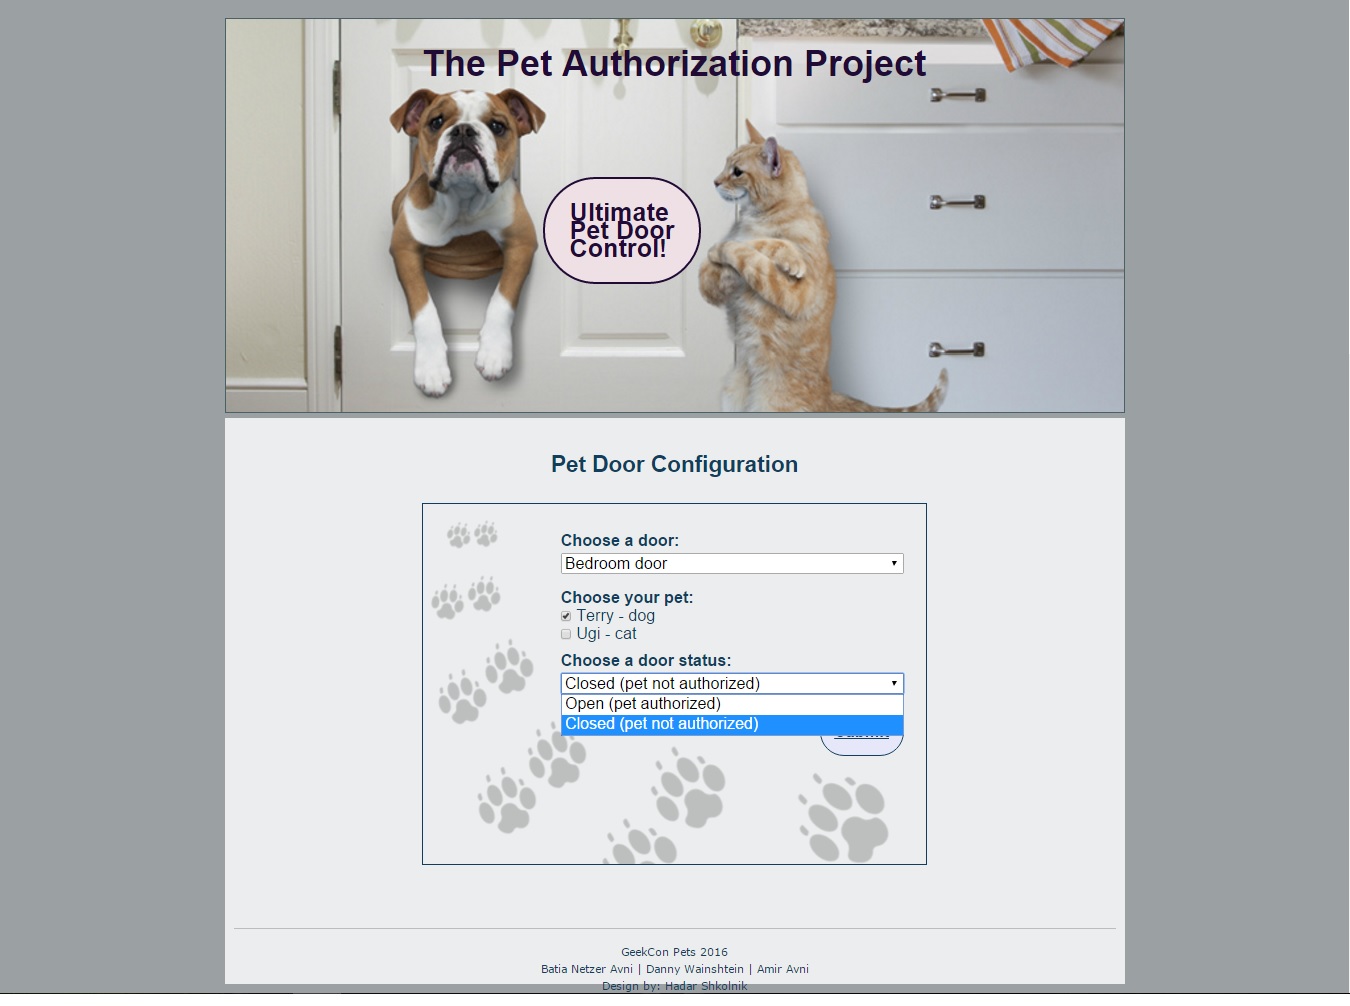
When designing and describing this project, we wanted to make it as much realistic as possible. So the idea was to develop a website as well, which would enable the pets' owner to define each of the NFC tags, and determine which pet is authorized to go through which door.
Eventually, we didn't use the website, and just pre-defined the NFC tags. However, with the help of some more people at Geekcon we managed to finish designing the website, so here is how it looked like:
Final Thoughts
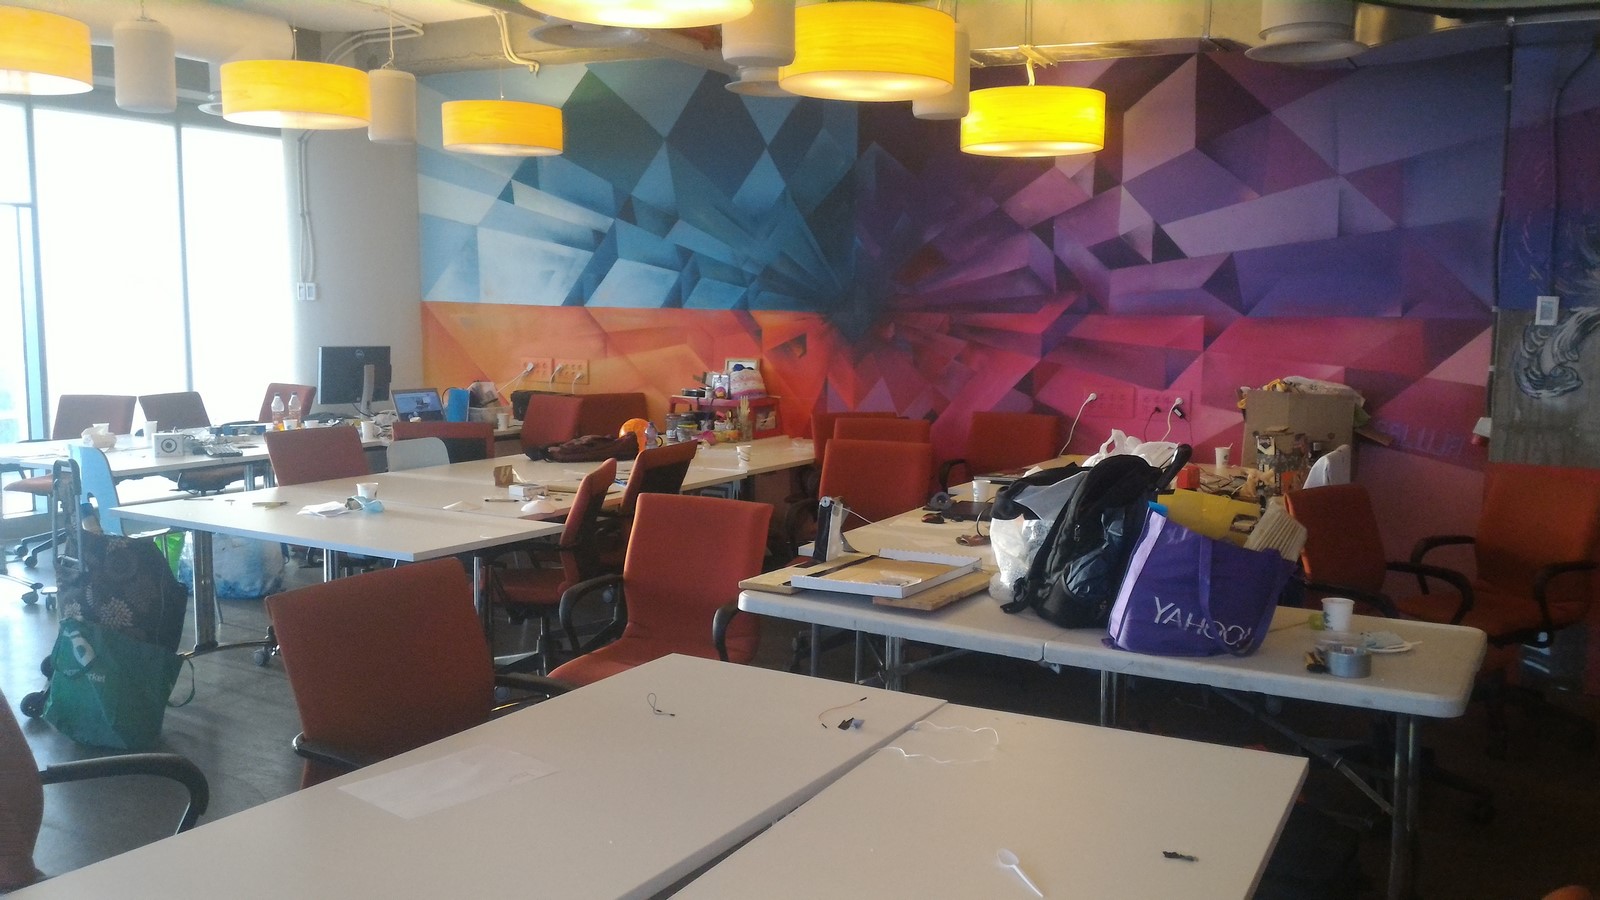
As I wrote at the beginning, the integration was mainly the complex part of this project. We had 36 hours to make it and most of the time was used for integration and decoration. The electronics and software were actually made by us in former projects and so they were only needed to be hacked a bit to fit to our needs. To conclude - It was a really fun project, perhaps not that educating but fun. Here's a photo of our work station at 6am (Yep, some of us didn't get any sleep that weekend)
AA