This project started with our visit at the new Fab Lab in our town.
What's a Fab Lab? Here's a quote from Wikipedia:
A fab lab (fabrication laboratory) is a small-scale workshop offering (personal) digital fabrication.
A fab lab is generally equipped with an array of flexible computer controlled tools that cover several different length scales and various materials, with the aim to make "almost anything".
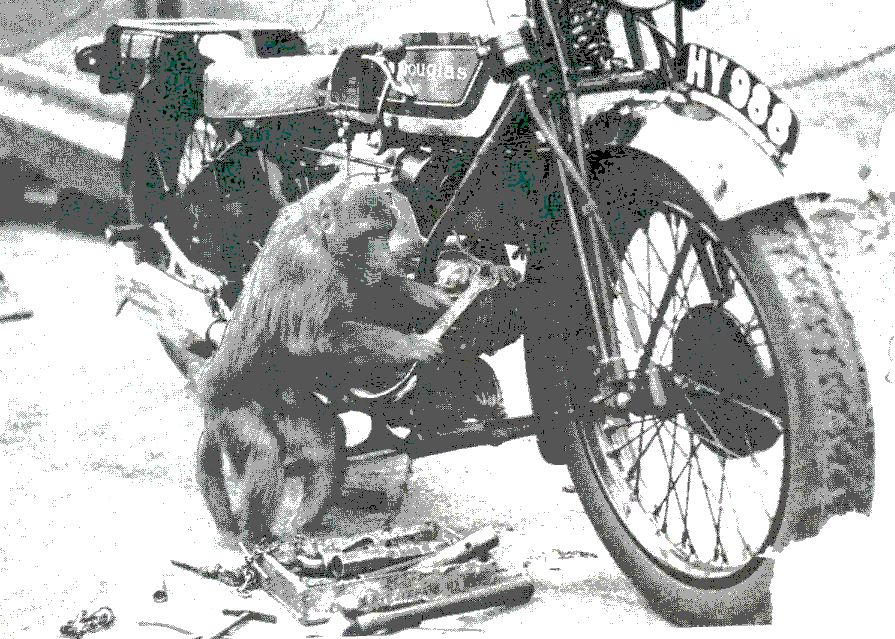
"Almost anything" is a good description of what's going on there. Lots of people making lots of amazing projects. For us, it was a good timing to learn how to use some new tools we did not have at home. The first apparatus we were interested in was the laser cutter. Since it such a big and expensive machine we never had the chance to work with it. The project we decided to do: A jigsaw puzzle of our blog's logo - Monkey Wrench. Here is the final product:
During the process, we learned a lot and got a lot of help from the people who work there, and this is pretty much sums the magic this place has.
A short phrase before I begin: We started by playing with the "monkey wrench" photo using Inkscape. This software is great for making a file (DXF and more) that will be used to operate a laser cutting machine. Finally, after learning how to use this software, we figured out we don't really need it for this project, but I will still mention it again later because it is a great tool.
Phase I - First Try
For a start, we wanted to use the laser cutter only to burn a small scale image to see how it looks like. We performed the next steps:
- Imported the "monkey wrench" photo into the laser cutting program.
- Scaled it to 10cm X 10cm
- Chose the "Scan" function and not the "Cut" function. The Scan function is used to burn an image on the wood and not to cut it.
- Performed a "Dithering" filter on the image. This filter makes the image into a binary image (only black OR white) made of small black dots. Wherever the image gray levels were lower, the dots' density was higher. The density can be configured using the program.
- We drew a square around the image and chose the "Cut" option for this square.
- Put a wooden plate inside the laser cutter.
- Adjusted the laser's starting point and its height from the wood (So the laser focusing will be correct)
- Sent the instructions to the laser cutter and pressed start.
Overall it was pretty exciting to see this machine works for the first time
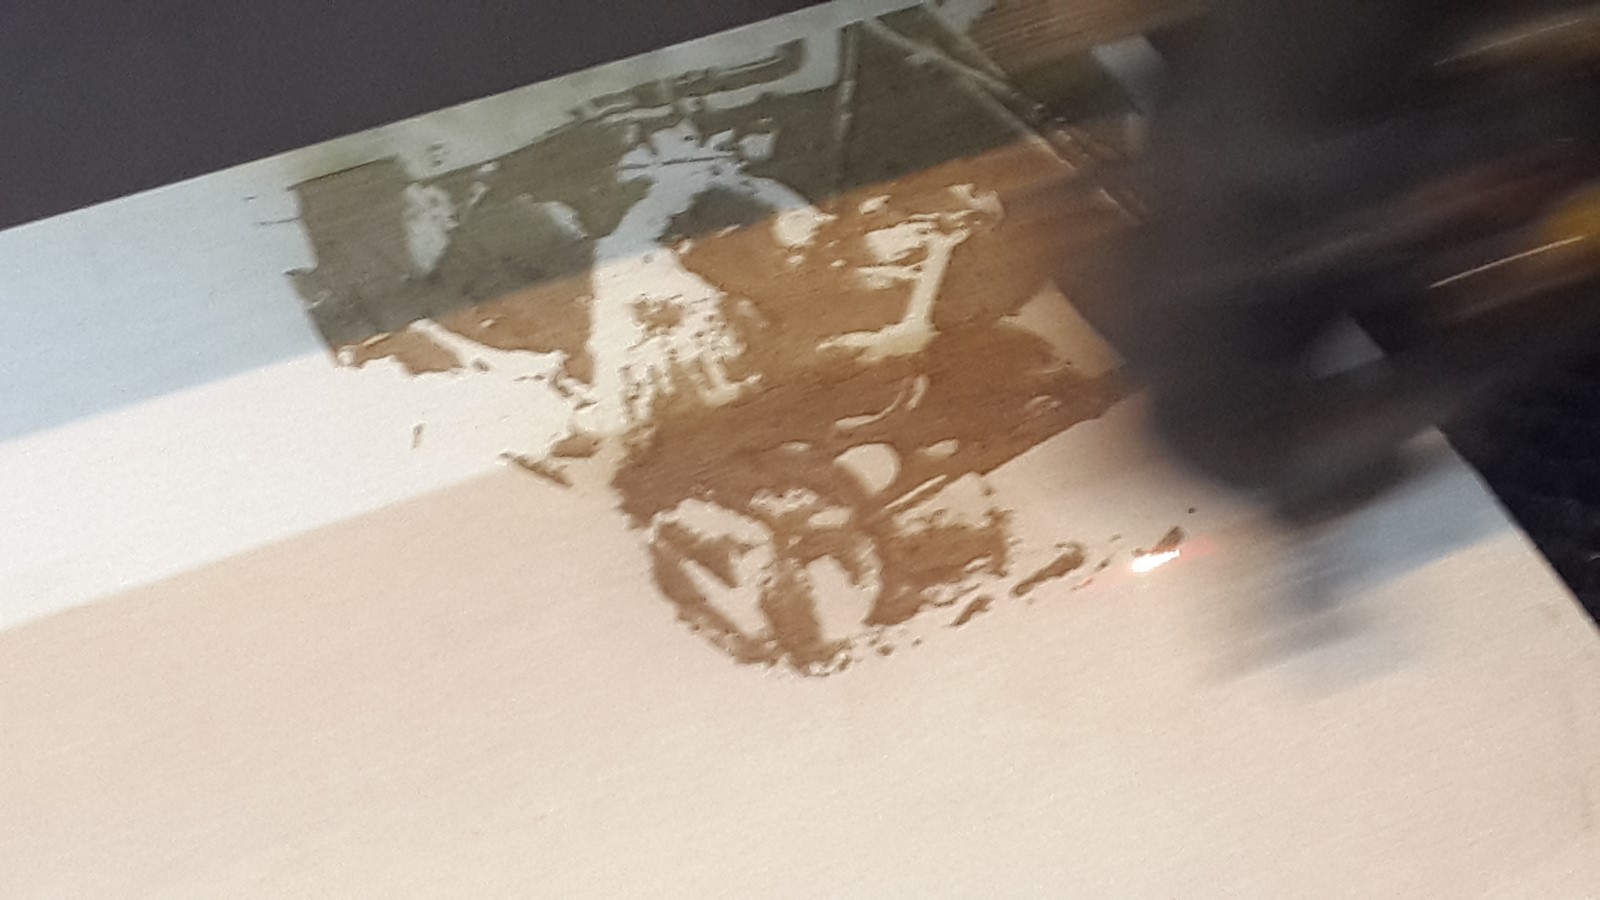
Here's a photo of what we got compared to how it looked like on the computer
As you may see, the picture on the computer was already not that detailed, and the picture on the wood is even less understandable than the computer's one. Well, that's life! The professionals on the lab explained to us it is hard to get a good product using a very detailed photo like the one we chose and if we decide to go for it, it takes a lot of tries to understand how the changes on the computer are translated into the final appearance. Nevertheless, we decided to continue to the next stage :)
Phase II - The Real Thing
After we understood the entire process we started it again going in order to make the jigsaw puzzle.
We started by importing the image into pixlr - An online picture editor, where we did two things:
- Since the monkey's face turned all black on the original image we selected the face and adjusted the brightness level.
- Then, we posterize the image into four layers, creating an already dithered image but with more control from our side to keep more details.
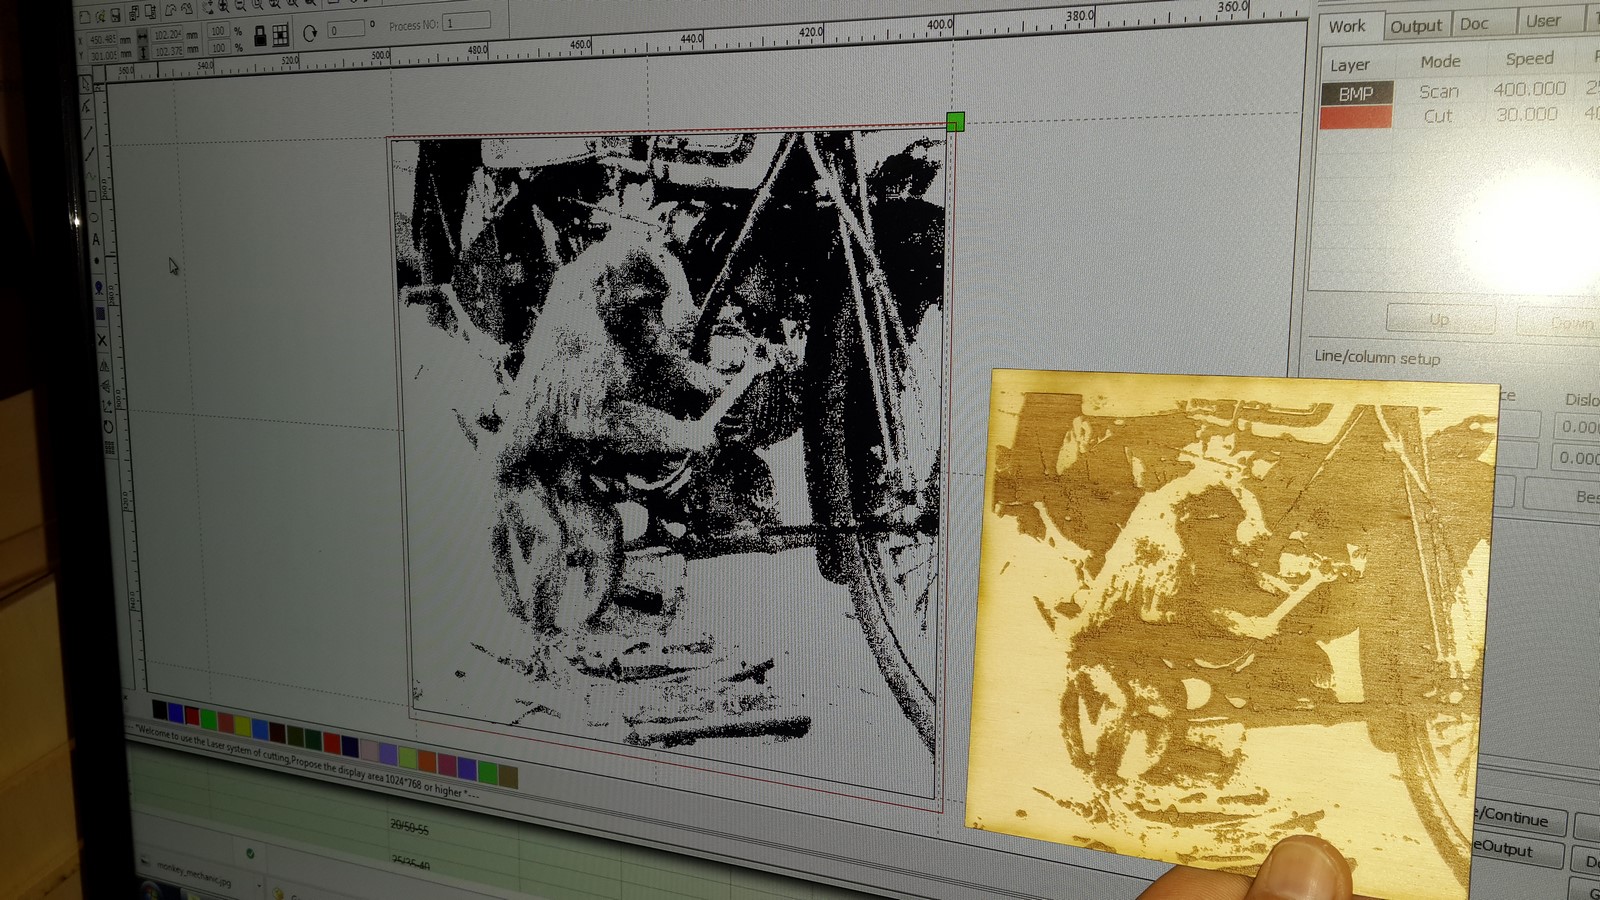
Here's how the image looked like after abusing it:
The guy in the lab said it looks like a dog :) Looking back I think we had to select the parts behind the monkey's face and adjust them to be darker. As before, we imported the photo into the laser cutter software, this time scaled it to a bigger size, about 20cm X 30cm. Once again, choosing the "Scan" option and configuring the dithering level - this time there was almost no need to configure it.

Next, we image-googled "laser cut jigsaw puzzle pattern" and imported a pattern of a jigsaw puzzle into the software, scaled it so it would fit the image and chose the "Cut" option.
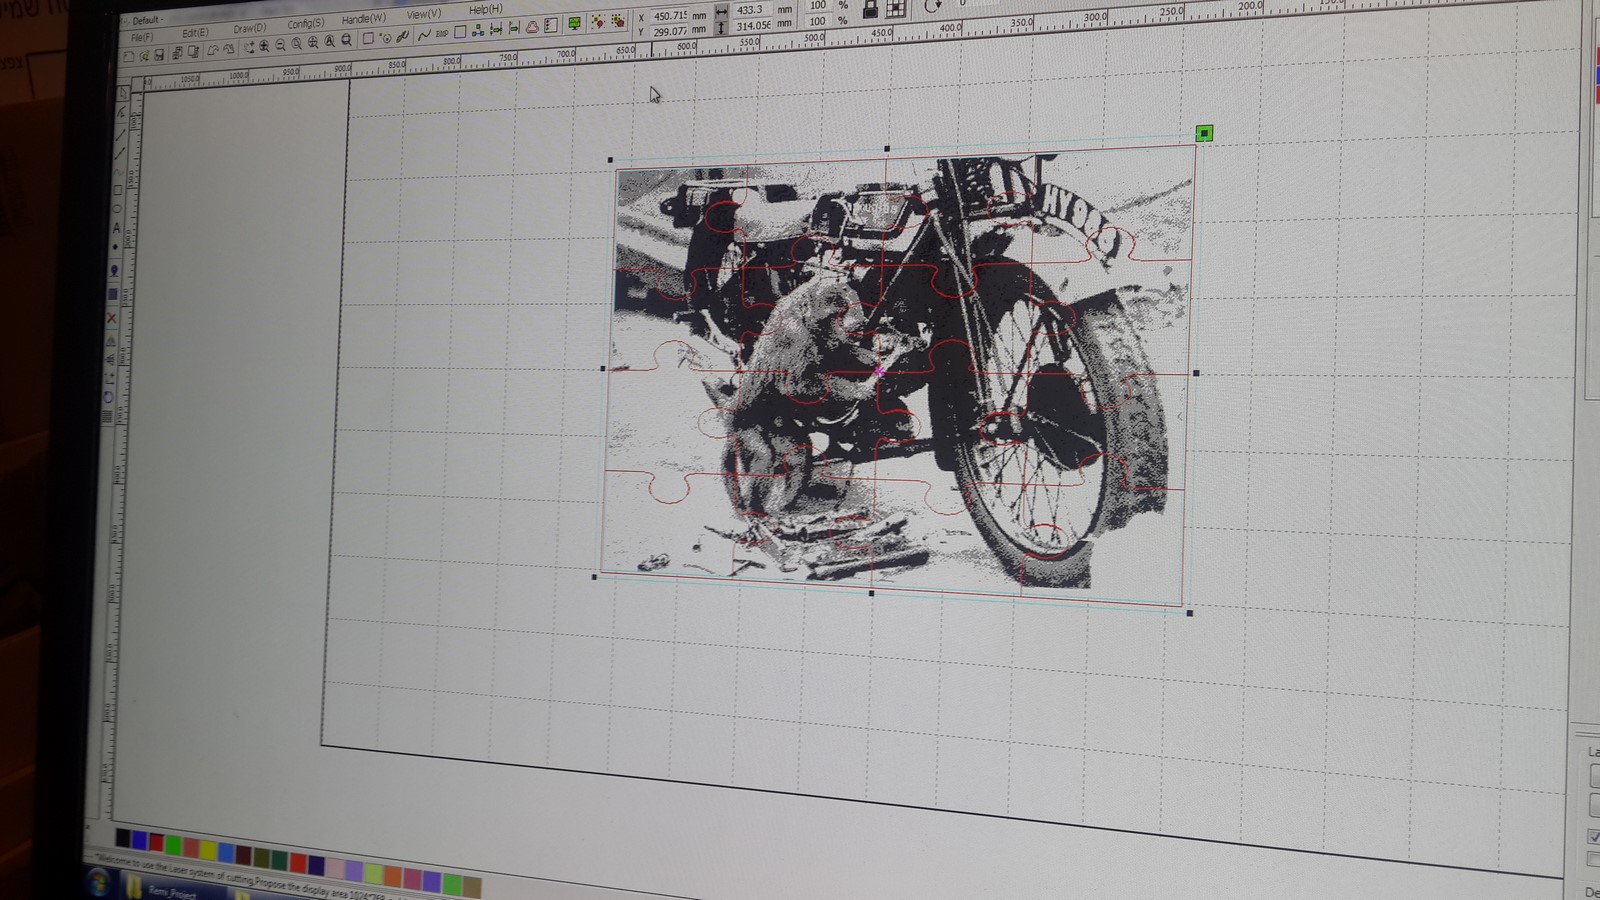
Finally, we drew a box around the puzzle, a bit larger then the limits of the puzzle so we will have a frame for the puzzle.
During the process we made some mistakes and got a lot of useful tips. I'll just write all of them here so it'll be organized and it will probably be updated when I recall more of those:
- It is best to split the process into stages such as: Burning an image, cutting the puzzle, Cutting the frame etc. That way you can monitor your process and fix issues on the way.
- If the wooden plate is not straight, add more plates around it when placing it in the machine. The air-sucking surface beneath the plate will then suck the plate harder and straighten it.
- The image color will most likely be about 20% lighter than how it looks like on the software. This is true to this software only and may differ in other software.
- When burning an image, the wooden plate has to be positioned such that the laser starting point will have a gap of at least few centimeters from its limits. The reason is that while burning (scanning), the laser keep going a bit further than the image itself, left and right sides. Not doing so (as we did at the beginning) will cause a reset during the process.
- As mentioned before, it is important to choose the wood type and width and the laser power properly.
- If it is a jigsaw puzzle you are planning - Make sure the pieces are different one from another. We didn't do it and it made the puzzle much harder :). This a good place to mention again the Inkscape software. Using this program it is very easy to draw lines, curved them a few times and create your own puzzle pieces.
- When adding the picture of the puzzle pieces, remove duplicate lines to make the process faster. We didn't do it as you'll see on the video.
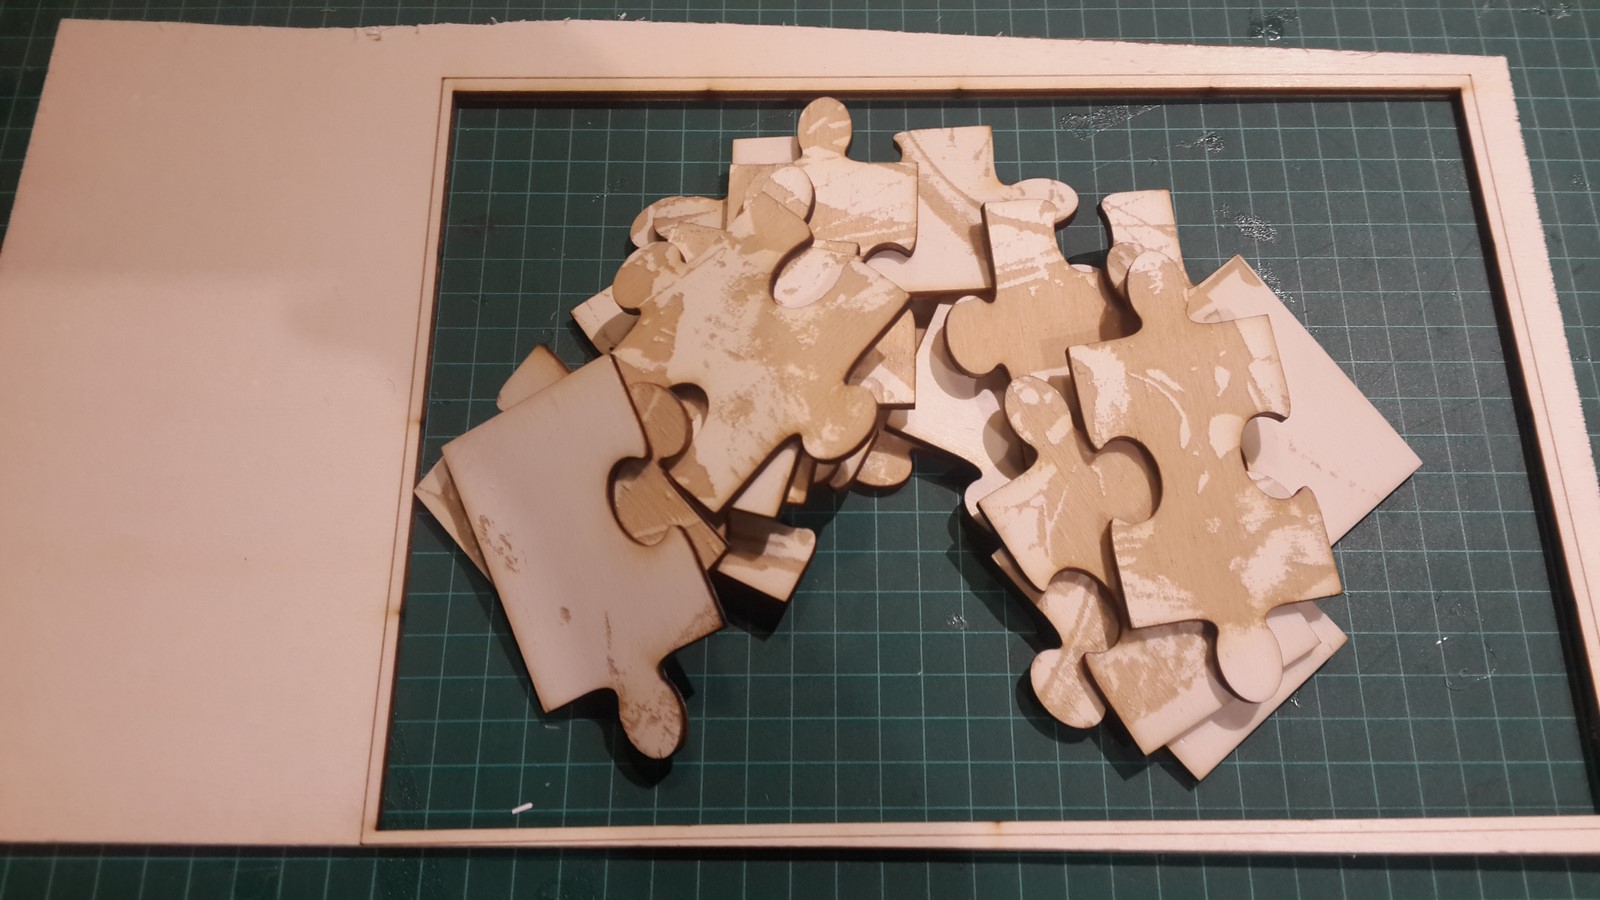
Finally we got to the best part. Here's a video of the machine burning the image. It took about twenty minutes and I modified the video to be twenty times faster
Here's a video of the pieces cutting, three times faster than the original (Notice the unneedded repeats where there were duplicaitons)
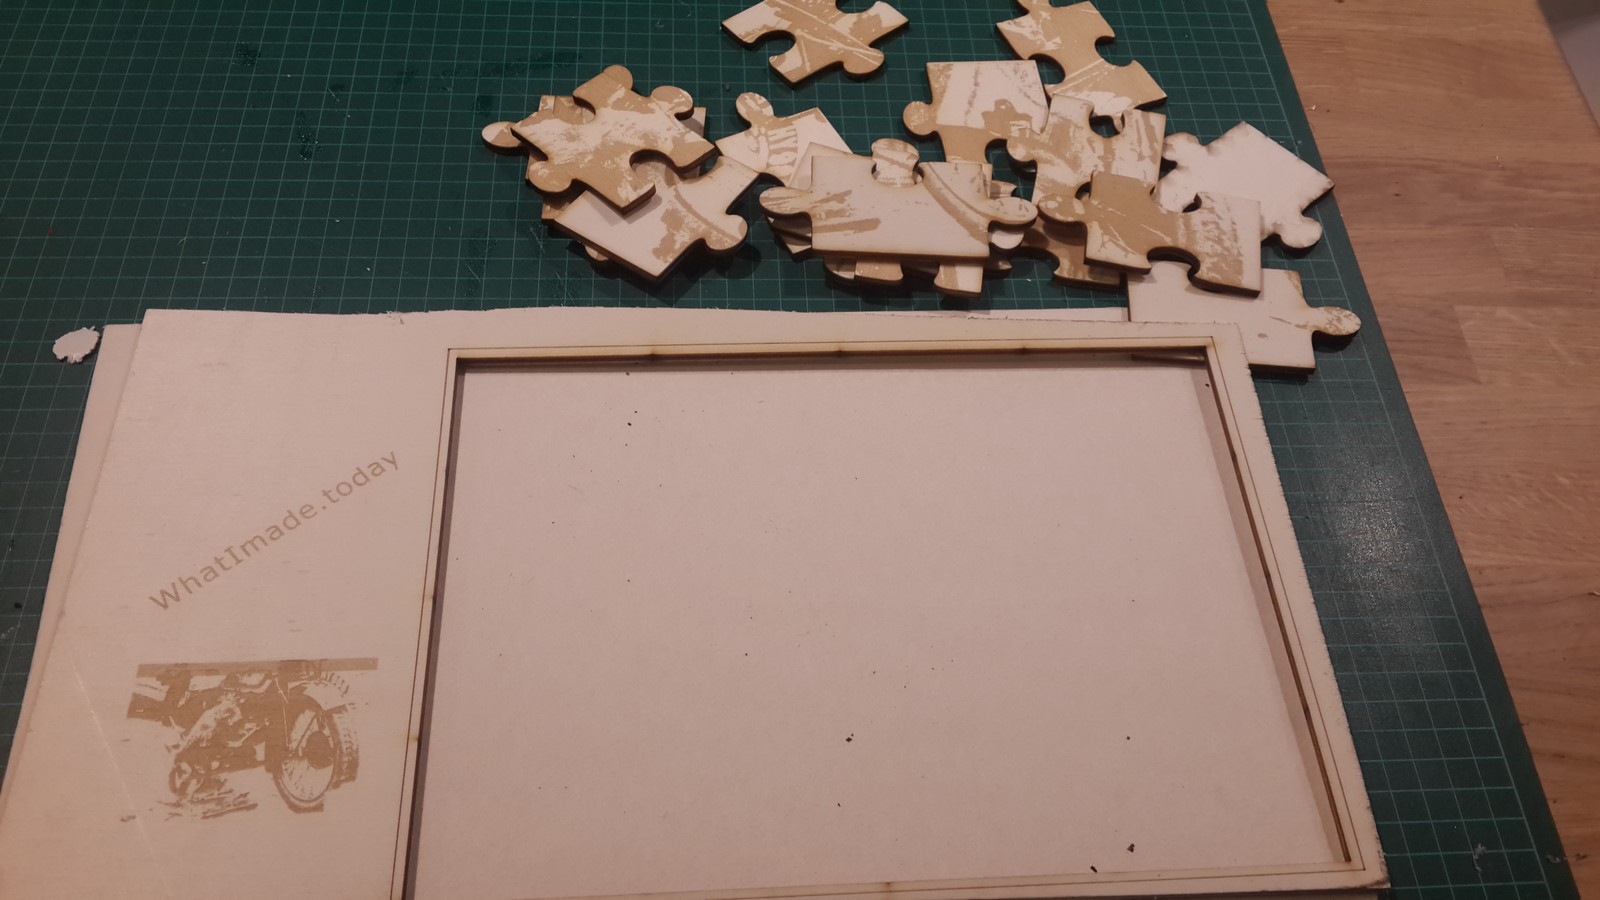
Notice at the end of this video that the frame wasn't cut as we wanted. The reason is because we accidentley configured the laser power to be too low. The final product looked like that:
Since we already took the plate out, it was hard to place it at the exact same spot to cut the frame again. Also, as you see on the image, we choose a starting point which was too low and the frame bottom almost passed the plate limits. We decided to improvise and use the rest of the wooden plate as well, burning a small scaled photo and the blog's name. Here's a video of the process, ten times faster:
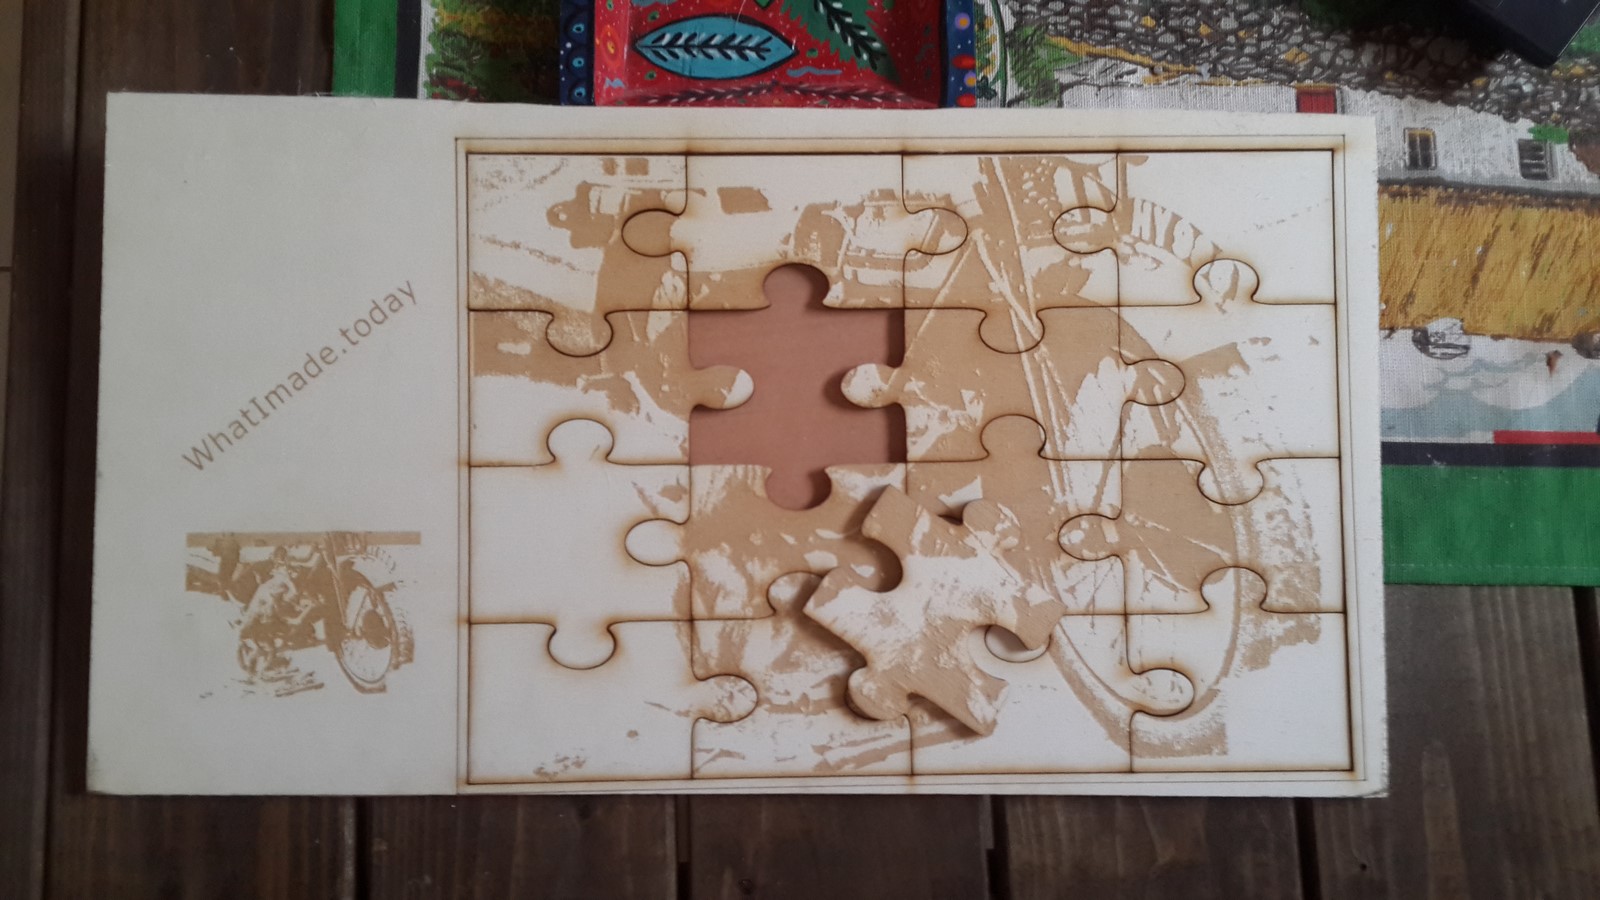
The new product was much nicer:
All left to do now is paste the frame on another wooden board:
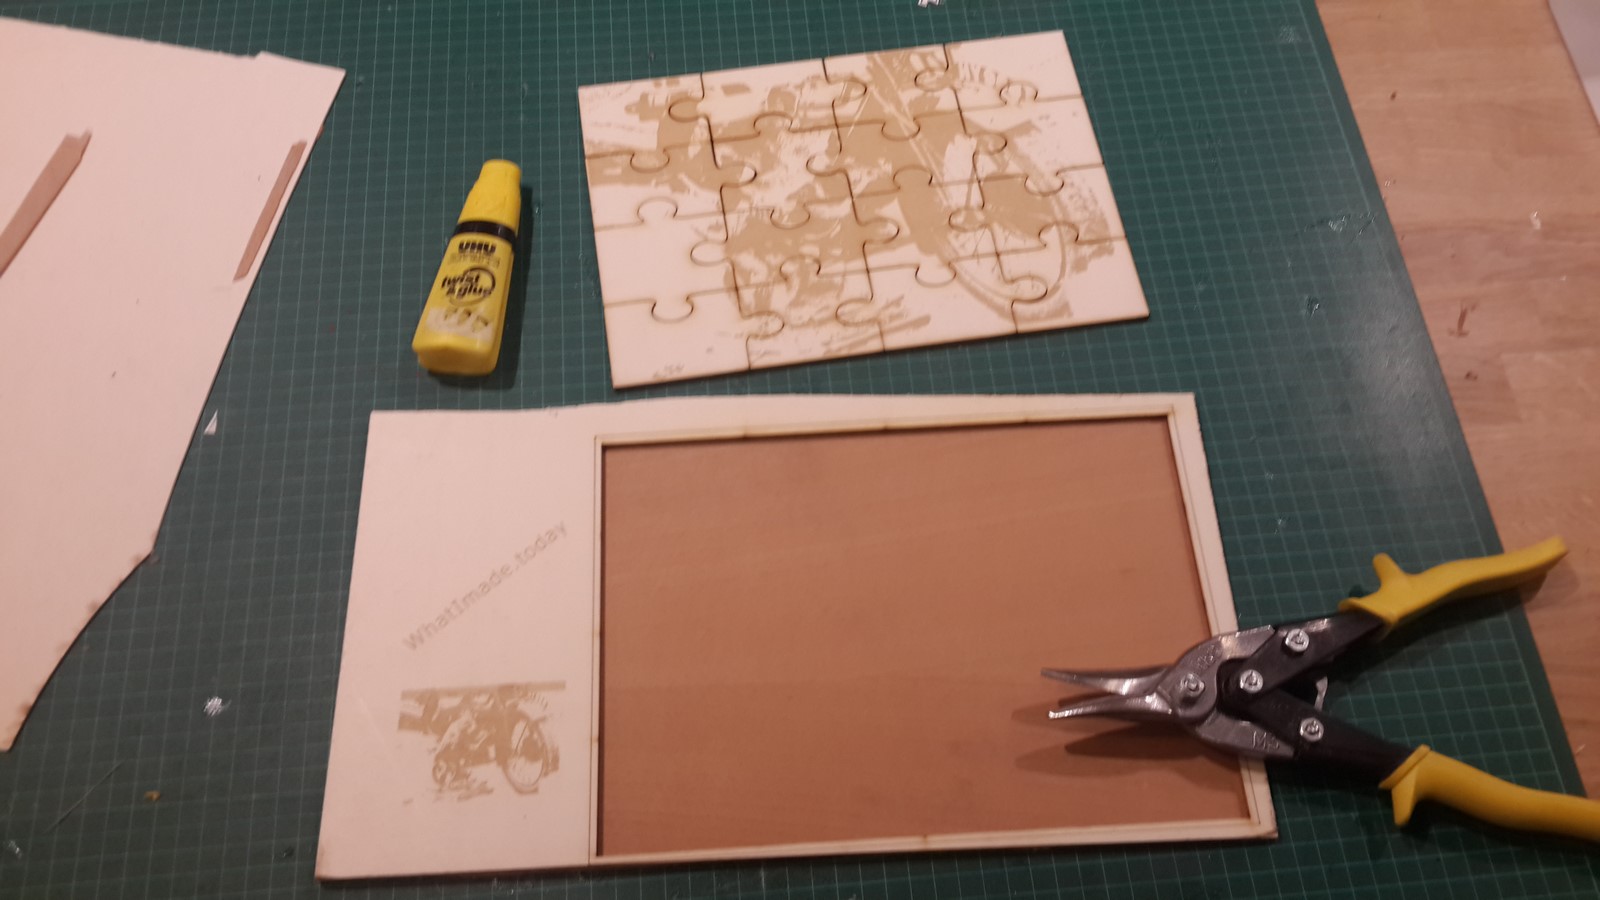
And finally smooth it a bit on the sides:

The puzzle was done! Yesterday a friend came over and tried to solve it
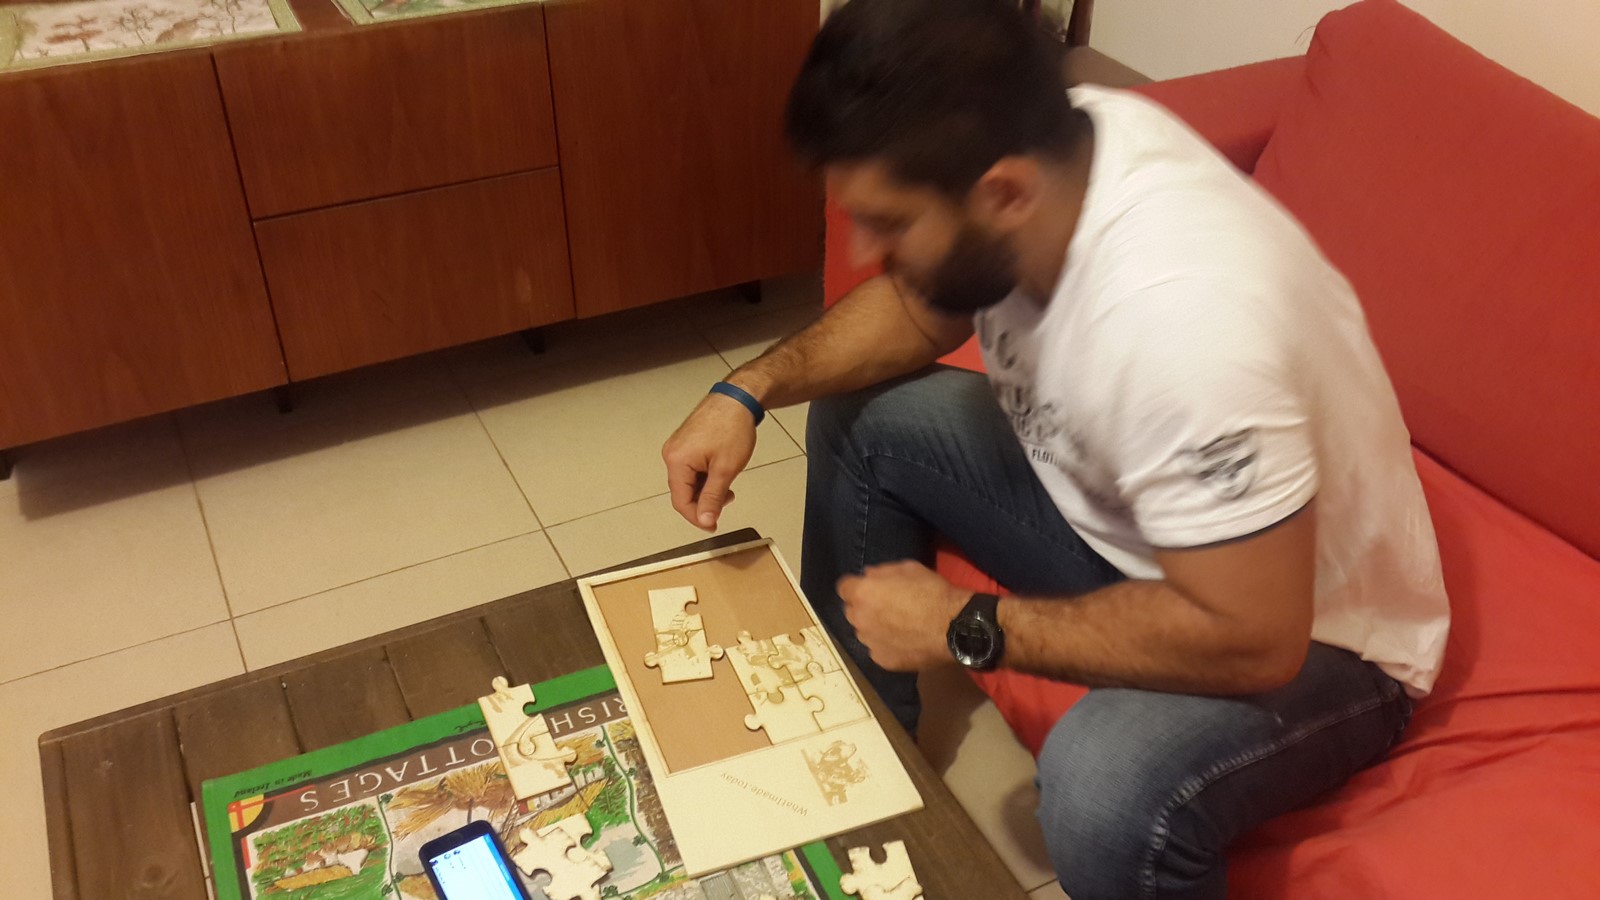
Even though it is only a sixteen pieces puzzle it took him a long time, and that when I realize we should have modify a bit the puzzle pieces and not making many of them the same. However, I just told him we did it like that to make it more challenging :)
AA