A couple of weeks ago I set up a new bench in my workshop. It was a great new space, but each time I wanted to flash an Arduino or ESP8266, I had to turn 180 degrees to get to my computer. I knew there must be a better way.
That's when I started thinking about putting a computer on my new bench. I had a Raspberry Pi 2 lying around, and an old LCD screen that could easily sit at the corner of the bench. It got me wondering if I could run the Arduino IDE on the RasPi.
About 45 minutes later and I was up and running. It was surprisingly simple and this post will tell you how to do it.
Equipment
- Raspberry Pi. The Arduino IDE is pretty demanding so I'd recommend either the RasPi 2 or 3.
- Raspian. I suggest Pixel, but I'm sure it will work on earlier versions too.
- A screen connected to the RasPi. I don't see how this could be done headless through SSH. If it can, it's beyond the scope of this post.
- Keyboard and mouse.
- Internet connection - at least for setting everything up. Once the IDE is in place you don't need the internet anymore.
- USB - Arduino cable. Strictly speaking, you don't need this for setup, only for flashing when the IDE is installed.
Before we go on
We're working with a Raspberry Pi. As you know, it's a fantastic little computer - but don't expect it to compile your Arduino code at the same speed as your main computer. If you don't mind being patient, the RasPi will work fine. If you don't like sitting around a minute or two, maybe this isn't for you.
Step 1
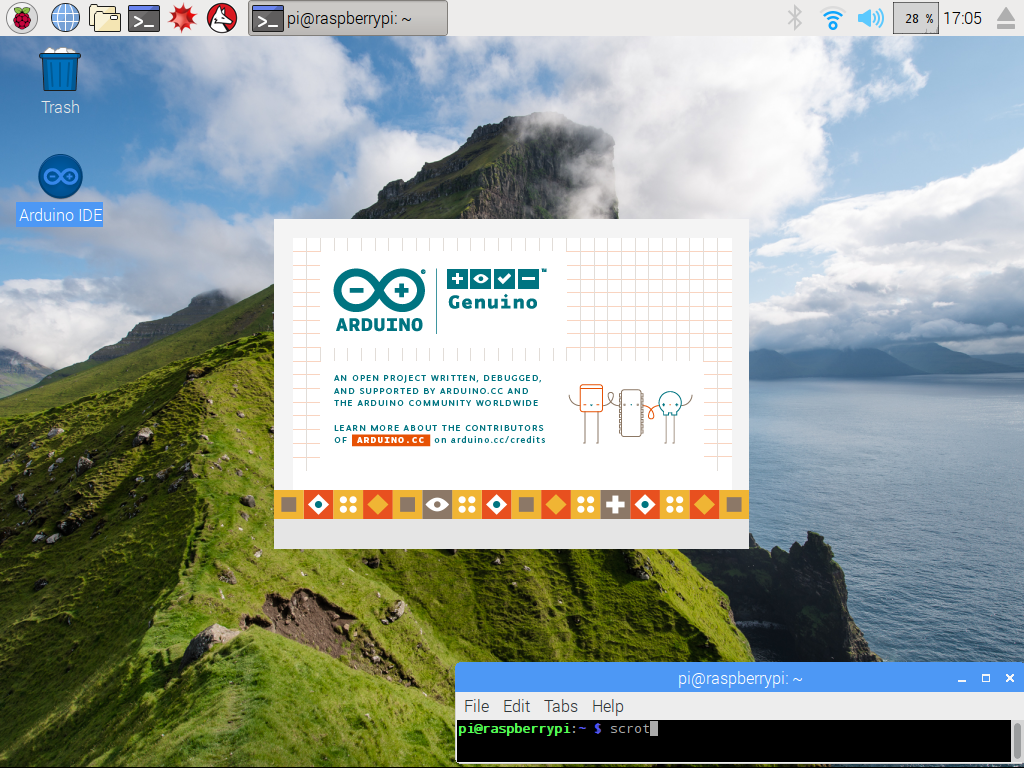
Once you have Pixel up and running, do the customary updates using Terminal:
sudo apt-get update
 sudo apt-get upgrade
Step 2
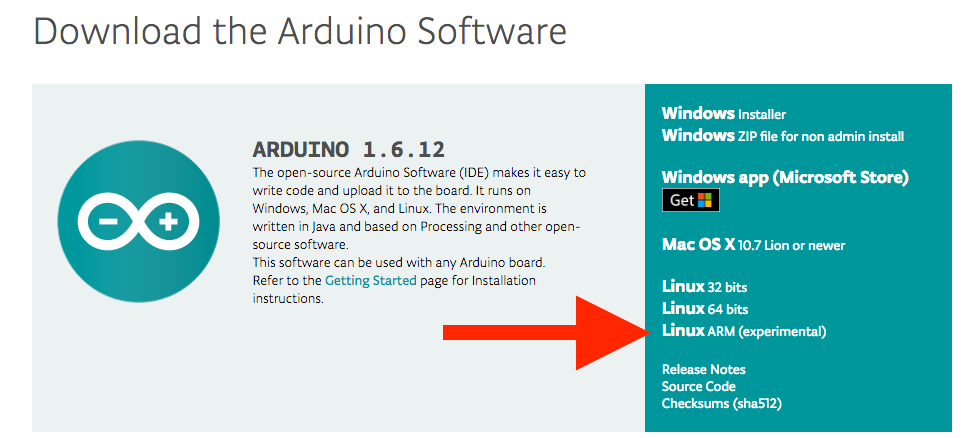
Open the browser on your Pi and go to this address: https://www.arduino.cc/en/Main/Software
You'll notice Linux ARM (experimental) in the list. This is the one you want to download.
Step 3
Once the code has been downloaded, in the Pixel GUI, click as follows:
- File Manager
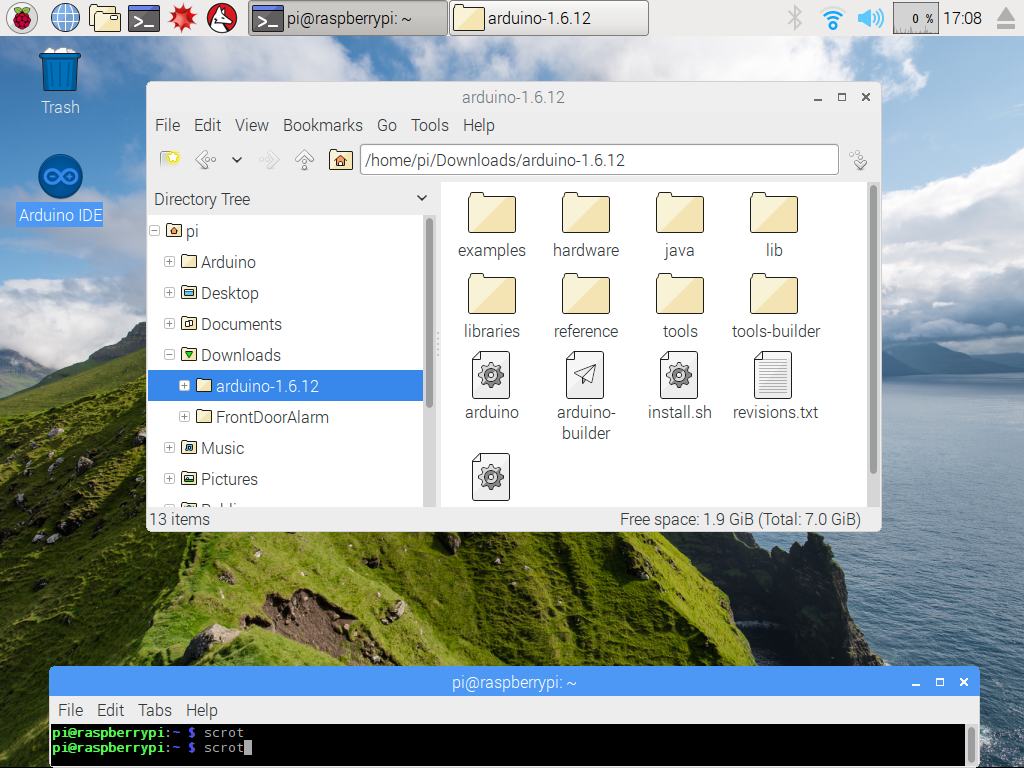
- Downloads (here you'll see the Arduino package) On the package, right click and choose...
- Archiver (A new window opens. It will take a few seconds to populate. The green/red light will flash in the corner while it's working.)
- The Arduino package will appear. Click on it then choose the icon "Extract Files."
- Another window opens. Select "All Files" and "Extract files with full path."
- Click "Extract" then wait a few seconds as it works. When it's finished it will let you know at the bottom of the window. You can now close the window.
- In File Manager, you will now see the extracted Arduino Folder in the Downloads folder. (You can click on it to see the files.)
- Now open a Terminal window and type:
cd Downloadsto move to the Downloads folder. - Type
lsto see the downloaded files - Type
cd "precise-name-of-arduino-folder"(Make sure you get the Folder name absolutely right, including upper and lower case). - Type
lsto see the files inside the Folder. - Now type
sudo ./install.shto install the package. Wait about a minute while the magic happens.
That's it! Now if you click the Raspian Desktop Menu, under Programming you should have Arduino.
I haven't had any problems with identification of my USB/Serial port. The RasPi seems to pick it up immediately.
Adding Support for ESP8266
- Open the Arduino IDE on your Pi.
- Copy this:
http://arduino.esp8266.com/stable/package_esp8266com_index.json - Go to "Preferences".
- Paste what you just copied into the field "Additional Board Manager URLs".
- Close and relaunch the Arduino IDE.
Click Sketch
Click Include Library
Click Manage Libraries
Install required ESP8266 libraries.
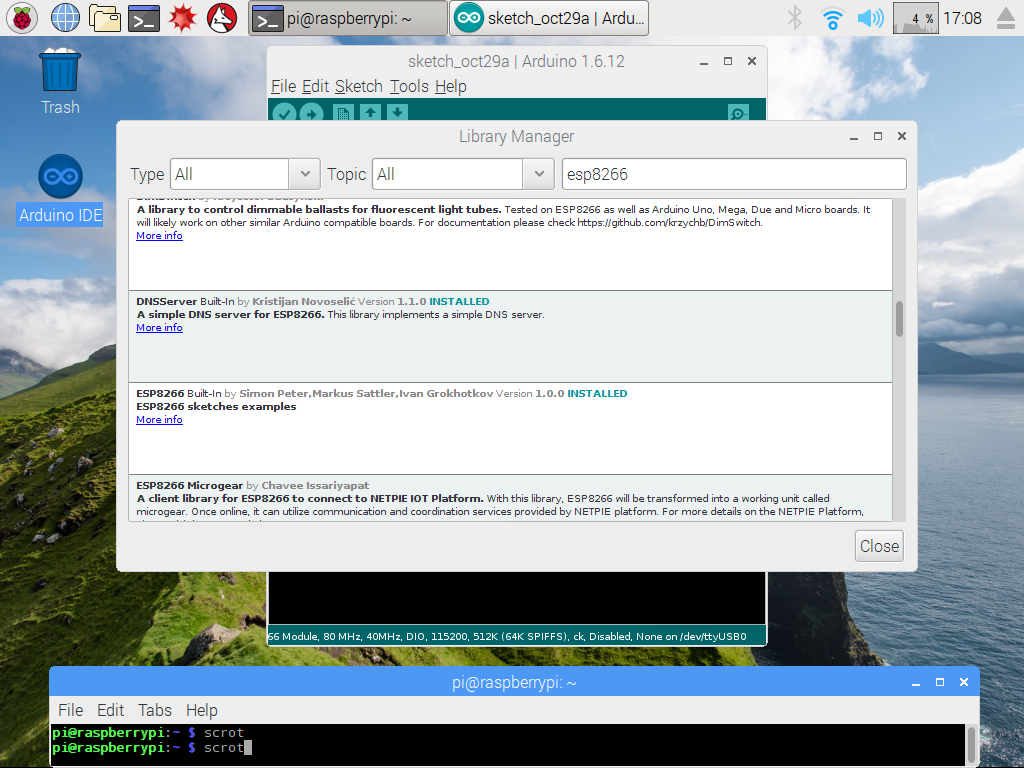
Still in the IDE, open Boards Manager, select ESP8266 and install.
That's it. You now have the Arduino IDE on your Raspberry Pi with ESP8266 support. Make sure you select the correct board and Serial Port before working with it.